10 min to read
Infrastructure as code with Azure DevOps - Part 3: Creating a build pipeline
A build pipeline is typically used during software development to “build” the application from source code. In basic terms, this means taking the source code, running it through a compiler and producing an artifact. For example, if you take some C# source code and run it through the .NET compiler, you’d likely get an executable or dll as an artifact at the other end.
One of the other primary functions of the build stage is to test the code quality. During software development, developers will create hundreds, sometimes thousands of tests for their code to ensure it’s functioning as expected whenever a change is made. Executing tests during the build phase means that when a test fails, the build phase will also fail ensuring that “unsafe” code never passes through to the next stages of software release. This is often referred to as “breaking the build”.
Automating the compilation of code and testing code quality, is known as Continuous Integration or “CI”.
When it comes to ARM templates, all we have as our code is a json document. There’s nothing to compile. When the build phase completes the json files are published, unmodified, as the output artifacts which are then made available to the next phase - Release.
What are we going to do
In this post, I will show you how to:
- Create a build pipeline
- Configure build agents, jobs and tasks
- Configure an automatic trigger to execute a build when your source code changes
Create a build pipeline
Now that we have a git repo that we created in Part 1 with an ARM template committed, it’s time to configure the build pipeline on Azure DevOps.
- Navigate to: Pipelines –> Builds –> New pipeline
- On the next page, we need to select the source for the build, which in our case is Azure Repos Git.
- Select the project and repository (it’s probably already pre-selected) and hit Continue.
- On the
Select a templatepage, select Empty Job - The next page is where we’ll configure the build steps
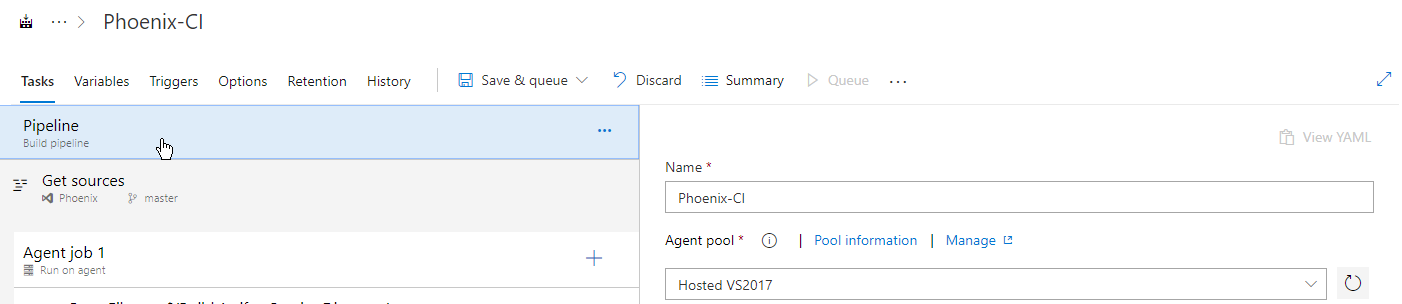
The first box at the top of this page that is labelled Pipeline, is where we configure the global settings of this build pipeline. We can set its name, the agent pool the builds will execute on.
- Give the build a name
- Leave the Agent pool as “Hosted VS2017”
Build Agents
A build agent is a piece of software installed on a machine that does the unit of work asked from the build pipeline. Using the earlier example, if we want to compile some C# code, we execute those steps on a build agent configured with a .NET compiler.
It is possible to download and install the agent on your own infrastructure if you choose, however, Azure DevOps provides us with some hosted agents to use for free. Under the hood, these hosted agents are basically docker containers that are run in Azure and spun up on demand. Microsoft provides a couple of these to each Azure DevOps account and we’ll be using these to perform our units of work.
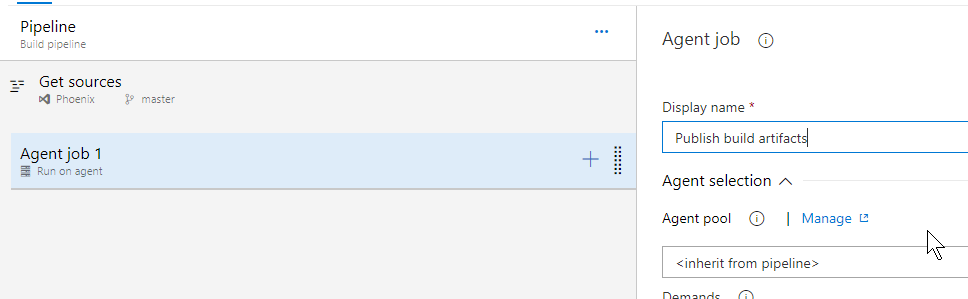
Agent job settings
Agent jobs contain a list of tasks that we want to execute on the build agent. Just like the pipeline box, clicking on the agent job box allows us to configure the settings for the agent job.
- Give the agent job a name and leave all other settings as default
Tasks
Tasks are the units of work executed on an agent during the build phase.
For deploying an ARM template, we need two build tasks:
- Copy Files
- Publish pipeline artifact
Copy Files
The first thing we need to do in our build phase is to copy the ARM template files to our staging directory. The staging directory is a special temporary location that is available to the agent during the build phase and can be referenced by other tasks in the agent job.
- Click the
+icon to add a new task - Add the Copy Files task
- Leave the Source folder blank. This will default to the root directory of our git repo
- Enter *.json in the contents field. This will grab all json files located in the source folder.
- Enter
$(Build.ArtifactStagingDirectory)in the target folder. This is a special variable used to indicate the location of the staging directory that is accessible by the build agents
Publish artifact
The publish artifact task will take all of the files in a given directory, zip them up, and make them available to the release pipeline as an artifact. By default, this is placed in a directory called drop.
- Click the
+icon to add a new task - Add the Publish Artifact task
- Configure the name of the artifact if you want. I’ll leave mine as default (
drop) - Enter
$(Build.ArtifactStagingDirectory)as the path to publish. This is the directory where our build agents copied the ARM template in the previous step - Click Save & queue
- Enter a save comment and click Save and queue
- Click the build number to the build summary
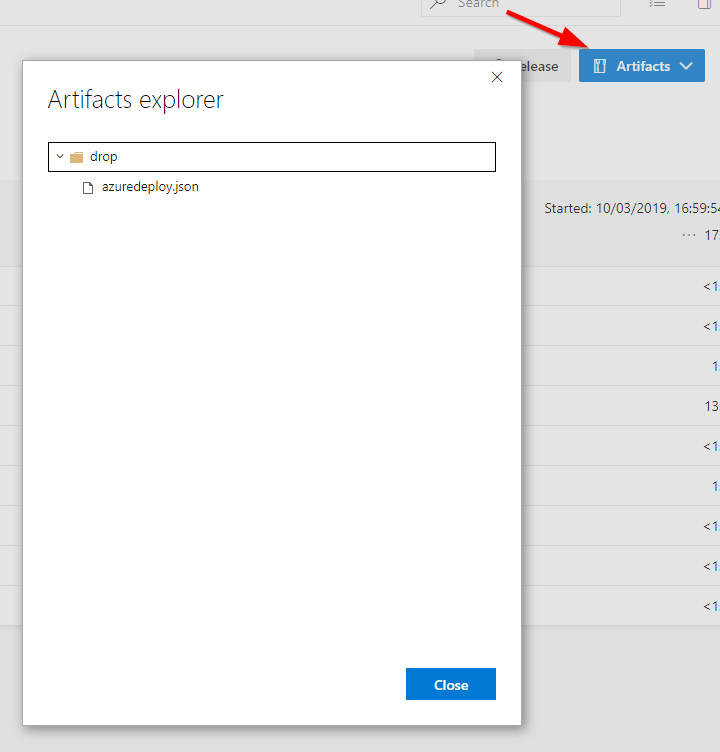
When the build completes, you can view the contents of the artifact that was produced (drop.zip) by clicking the Artifacts menu in the top right.
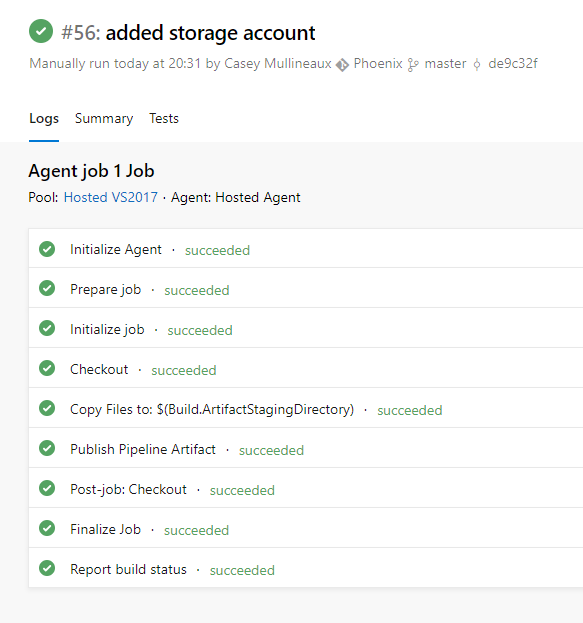
Build logs
The build logs show all the commands that are being executed on the build agent in near real time.

Let’s go one level deeper in the layers of abstraction and break down what’s happening on the agent.
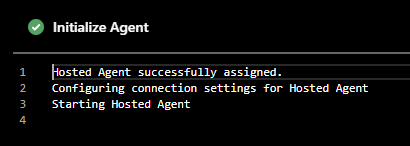
Initialize Agent
This step primes the agent to be ready for the work it will need to do.
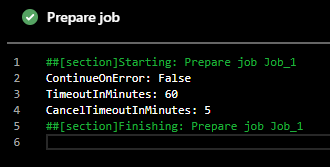
Prepare job
This step applies any configuration settings to the agent.
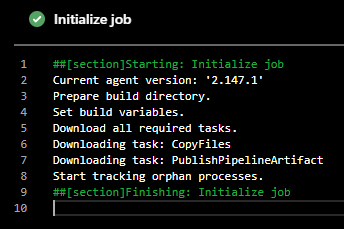
Initialized Job
This step downloads all the task information needed for the jobs we configured and will be passed onto the agent to execute.
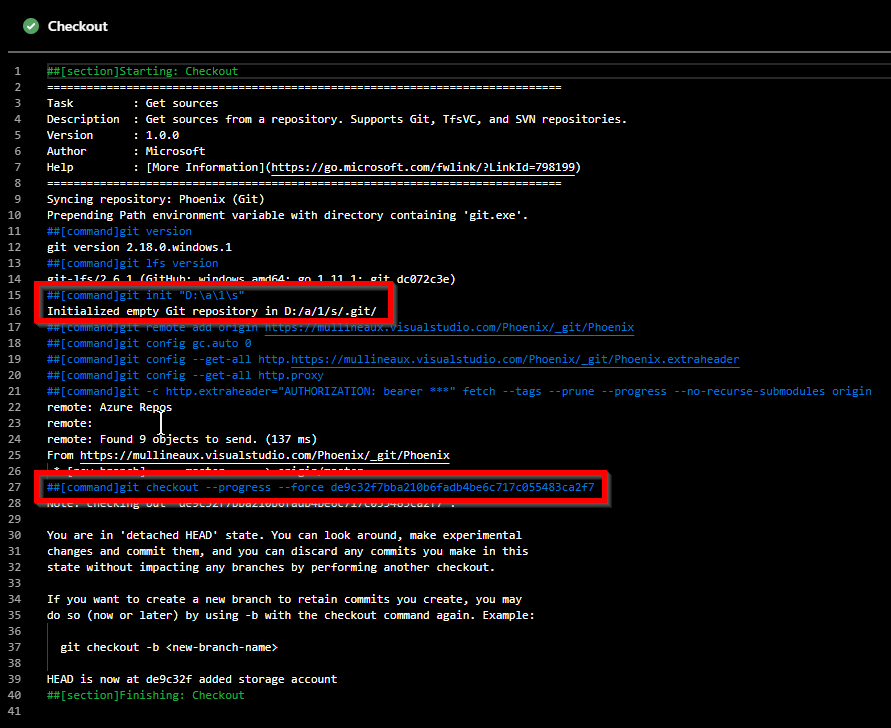
Checkout
Here we can see the agent initializes a new repo in the D:/a/1/s/ directory on the local machine the agent is running on.
It then executes git checkout command, and pulls down a copy of the source code.
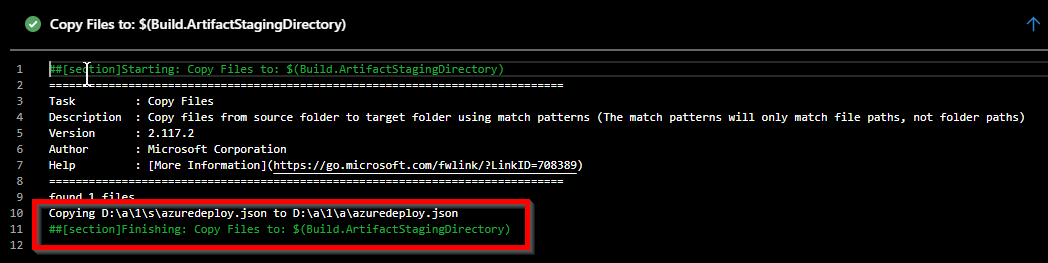
Copy Files to: $(Build.ArtifactStagingDirectory)
This is the first task we configured in the agent job. We can see that it copies the files from where they were downloaded into $(Build.ArtifactStagingDirectory), which is represented as D:\a\1\a\ on the local system.
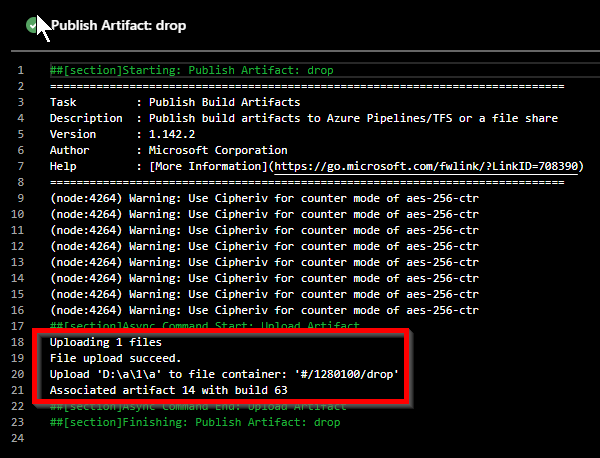
Publish Artifact: drop
This is the second task that we configured in the agent job. We can see that the Publish Artifact: drop task uploads the directory we specified in the task’s configuration (staging directory) to a new file container hosted in Azure DevOps. This is a special location that is accessible by the release pipeline. Also, notice how this specific artifact is also associated with this specific build.
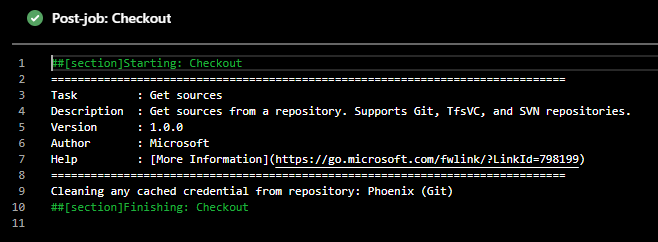
Post-job: Checkout
This step performs some routine clean up tasks relating to the git checkout operation.
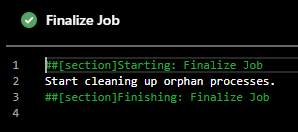
Finalize Job
Another cleanup task relating to the processes running on the agent.
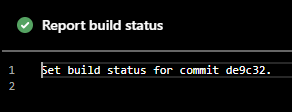
Report build status
And lastly, this task sets the status of the build in Azure DevOps depending on the result of all the commands executed in the build.
Artifact
When the build completes successfully, you can explore the artifacts that have been created by clicking the Artifacts menu in the top right of the build screen.
Triggers
A build trigger is a condition that is met in order to automatically start a build. These can be one of three things:
- A change in a source control branch (CI)
- A specific time and date (schedule)
- When another build completes
Create a CI trigger
In order to create a build automatically whenever our source code changes, we’ll need to configure a CI trigger on the build we just created.
- Navigate to: Pipelines –> Builds
- Select the build and click Edit
- Click the Triggers tab
- Under
Continuous Integrationclick the Enable continuous integration checkbox - Click Save & Queue –> Save
- Enter a save comment and click Save
Done! It’s that easy.
Test the automated build
Let’s try it out!
- Back in VSCode, edit the ARM template to add a comment to the storage account.
{
  "$schema": "https://schema.management.azure.com/schemas/2015-01-01/deploymentTemplate.json#",
  "contentVersion": "1.0.0.0",
  "parameters": {},
  "variables": {},
  "resources": [
    {
      "comments": "Testing CI trigger on build pipeline",
      "type": "Microsoft.Storage/storageAccounts",
      "name": "phoenixprojectdev",
      "location": "[resourceGroup().location]",
      "apiVersion": "2018-07-01",
      "sku": {
        "name": "Standard_LRS"
      },
      "kind": "StorageV2",
      "properties": {}
    }
  ],
  "outputs": {}
}
- Commit the change with a commit message.
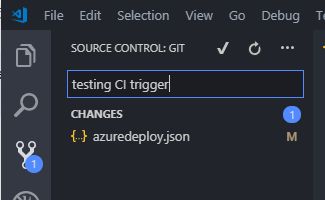
- Push the change to the repo
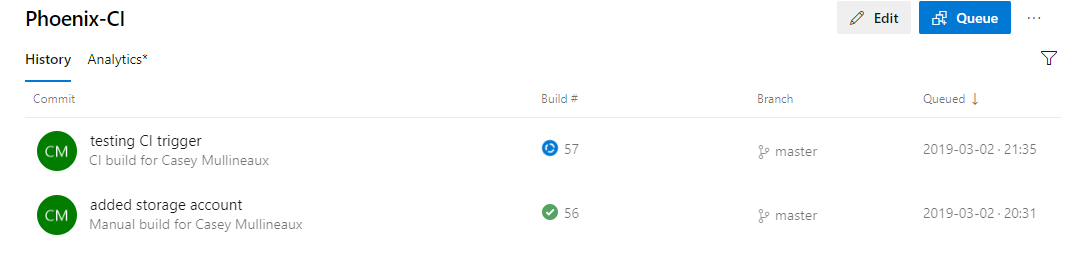
- Back in Azure DevOps, navigate to: Pipelines –> Builds
- Notice a new build has started with the title of the commit message
And there you have it! A build pipeline that publishes an ARM template as an artifact ready to be consumed by a release pipeline, that is automatically triggered whenever the ARM template is changed. It may seem a lot of effort for not much reward, but the build process will begin to increase in value when we start adding some tests to the pipeline.
Continue to Part 4 - Deploying infrastructure where we will deploy the ARM template into Azure.
- Part 1 - Getting Started with Azure DevOps
- Part 2 - Source Control
- Part 3 - Creating a build pipeline
- Part 4 - Deploying infrastructure
- Part 5 - Parameter files and pipeline variables
- Part 6 - Testing the build with Pester (coming soon)
- Part 7 - Testing the release with Pester (coming soon)

Comments