2 min to read
Infrastructure as code with Azure DevOps - Part 1: Getting started
It seems like on every blog or forum I read someone is talking about how the discipline of DevOps can “increase agility” and deliver value with an “increased velocity”.
What I don’t see a lot of, is someone explaining how to configure and use the tooling that makes that possible - especially in the context of deploying infrastructure to Azure via ARM. Hopefully I can help fill that gap.
In this blog series i’ll explain how go from zero to hero, deploying infrastructure-as-code into Azure through a simple CI/CD pipeline using Azure DevOps.
What is Azure DevOps
Azure DevOps (formerly known as Visual Studio Team Services (VSTS)) is a free* and extensible software platform that provides all the features a developer needs to develop, test, and release software.
Azure DevOps is split up into 5 main areas:
- Azure Boards (work tracking)
- Azure Pipelines (CI/CD)
- Azure Repos (source control)
- Azure Test Plans (application test management)
- Azure Artifacts (package management)
To keep things simple, i’m going to be focusing on the meat and potatoes of what Azure DevOps offers, which is Azure Repos and Azure Pipelines.
These two features allows us to store and manage ARM templates in source control, and deploy them into Azure automatically every time the code in the arm template changes using a CI/CD pipeline.
Getting started
Getting started is super easy and can be done in less than five minutes.
Create an Azure DevOps account
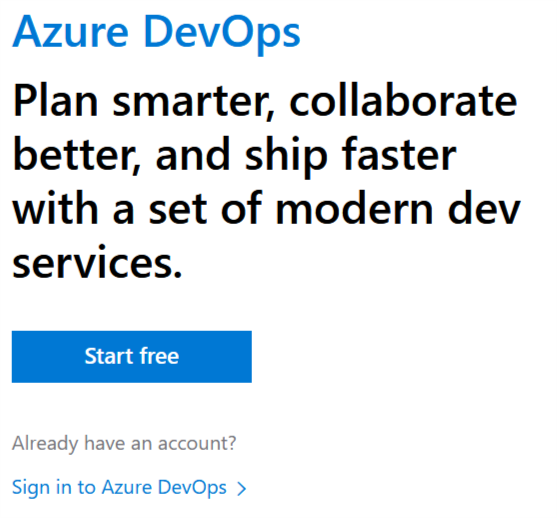
Head to dev.azure.com and click Start free to create a new account.
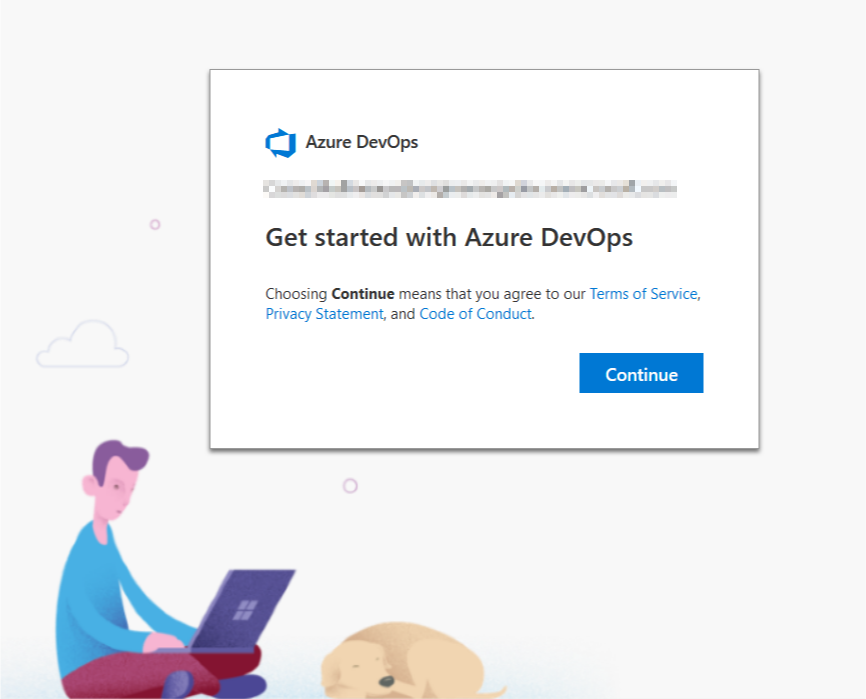
Once you sign in with your Microsoft account, clicking continue will provision a new Azure DevOps instance your Azure tenancy.
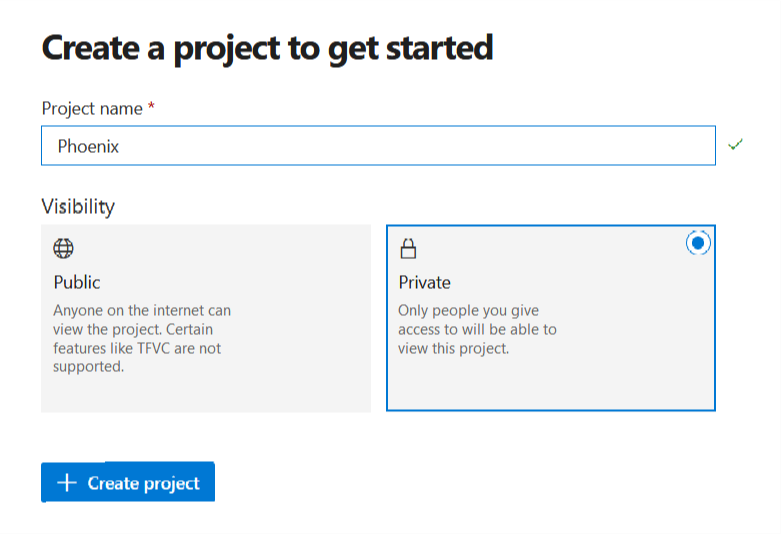
Create a new project
When the Azure DevOps instance has been created, you’ll immediately be prompted to create a new project.
Think of a “project” as a bucket that will contain all of your source code and build pipelines related to a particular application or system. In the event that you want to manage which users can access the source code and CI/CD pipelines, projects can also be used as a permission boundary.
Give the project a name and choose whether you want the project to be public or private. In most cases, you’d want to keep your junk private.

I highly recommend you pick up a copy of The Phoenix Project
That it! Told you it was simple!
Continue to Part 2 - Source Control where I’ll show you how to setup a new Git repo and make your first code commit.
- Part 1 - Getting Started with Azure DevOps
- Part 2 - Source Control
- Part 3 - Creating a build pipeline
- Part 4 - Deploying infrastructure
- Part 5 - Parameter files and pipeline variables
- Part 6 - Testing the build with Pester (coming soon)
- Part 7 - Testing the release with Pester (coming soon)

Comments