6 min to read
Closing the inner loop: Powershell & Bash

The new Windows Terminal has unleashed powerful customization options to one of a developer’s most important and frequently used tools. We can take advantage of these new features to chip away at closing the inner development loop.
“… the inner loop is the iterative process that a developer performs when they write, build and debug code.”
If you work a lot with git, you can save yourself a bunch of time hunting around for information on your commits and branches by displaying it right at the prompt.
Powershell
To get started, we’ll need a couple powershell modules.
- PoshGit PoshGit is a Powershell module that integrates Git by providing summary information that is displayed in the powershell prompt. It also provides tab completion support for common Git commands.
- OhMyPosh OhMyPosh is a theming engine for Windows Powershell that supports integration with PoshGit
Installation
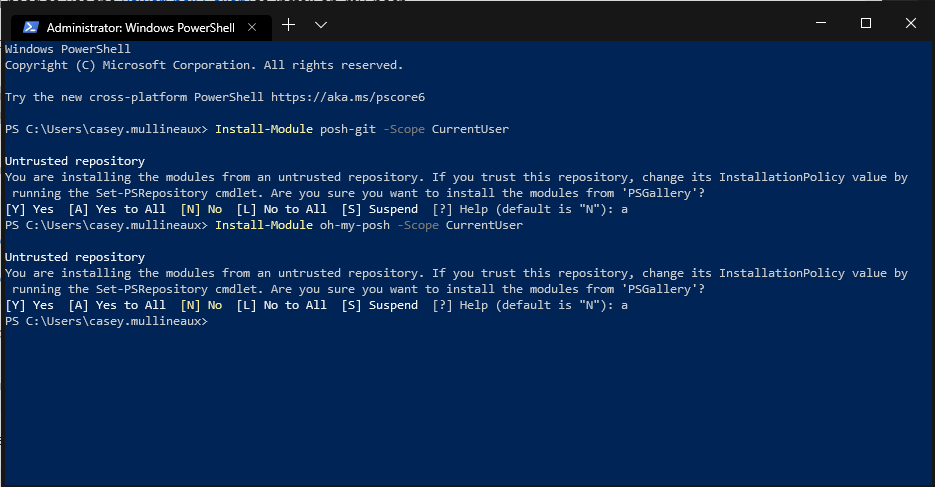
From a new powershell prompt, install PoshGit and OhMyPosh
Install-Module posh-git -Scope CurrentUser
Install-Module oh-my-posh -Scope CurrentUser
To use the PoshGit modules, they need to be imported within the active powershell session. To automatically import the modules every time a new powershell session is launched, we can add the import commands to the powershell profile.
We’ll also want to set a theme for oh-my-posh. You can pick from a list of pre-built themes from here, or you can create your own. I’m rolling with the Paradox theme.
Add-Content $Profile -Value "Import-Module posh-git"
Add-Content $Profile -Value "Import-Module oh-my-posh"
Add-Content $Profile -Value "Set-Theme Paradox"

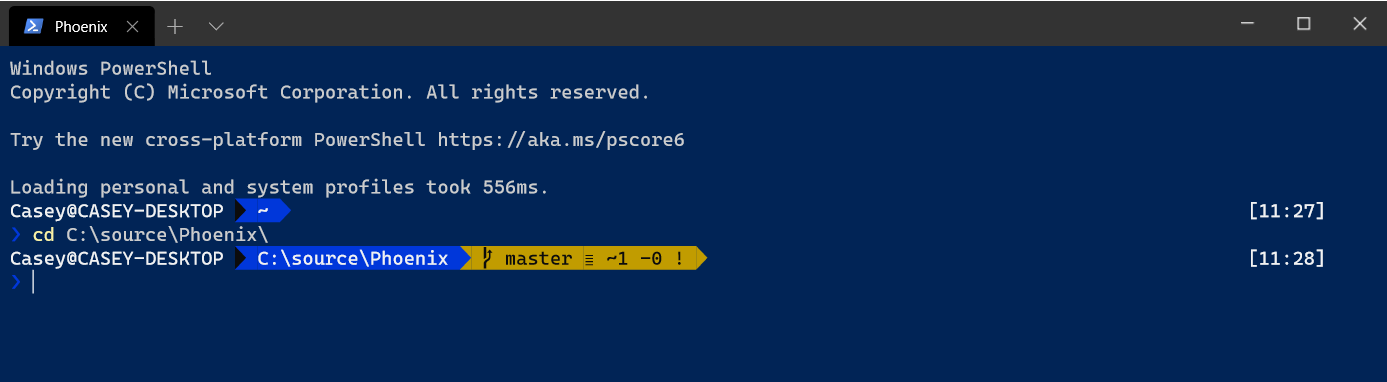
PS C:\> notepad $Profile
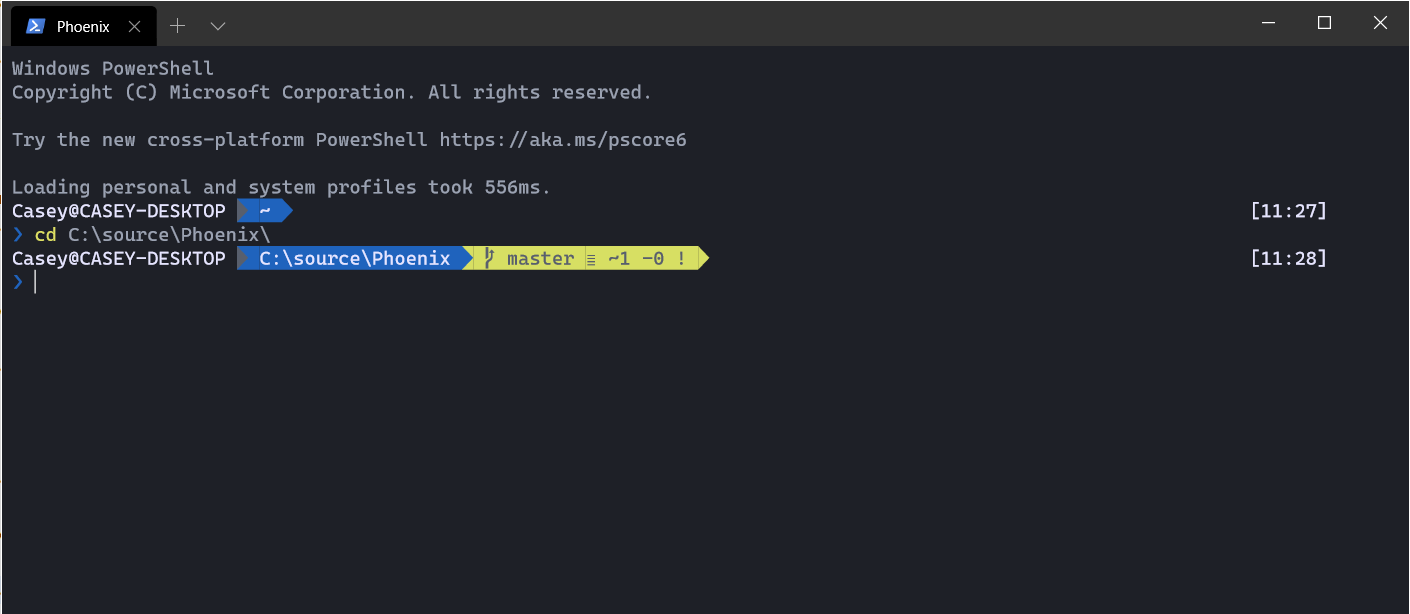
Now when you reload Powershell you should see something like this.
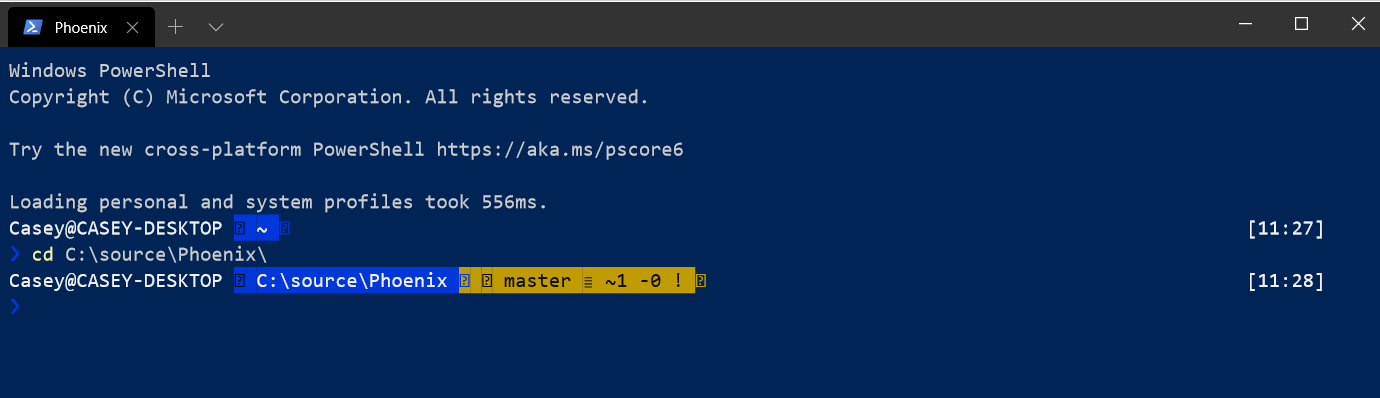
Notice that there’s a couple of weird icons showing. This is because the default font for the terminal does not support ligatures. To fix that up, we’re going to need to install a font that supports them.
There a couple popular fonts that support ligatures, most notably Fira Code, Monoid and Hasklig.
The font you choose comes down to personal preference, but I really like the default font that ships with the Windows Terminal; Cascadia Code. However, this takes us back to the original problem. The font doesn’t include the glyphs needed to support the ligatures!
Luckily, Microsoft has also released a version of the font that includes the glyphs up on their Github
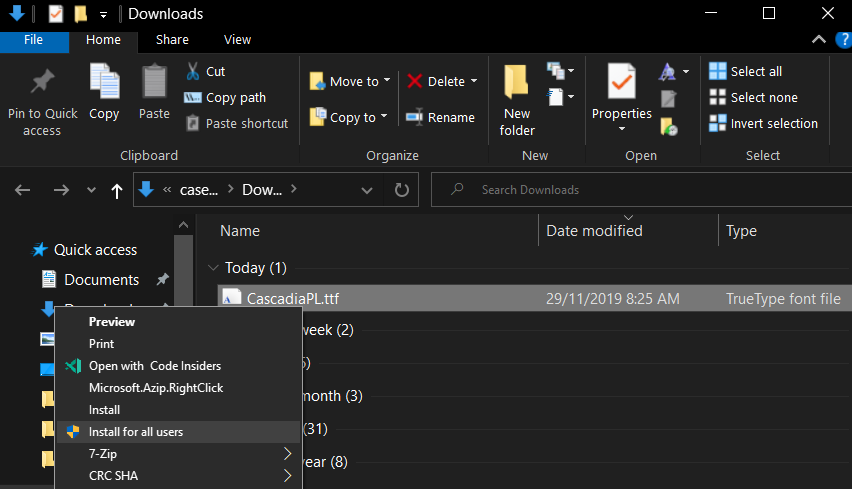
Download and install cascadiaPL.ttf
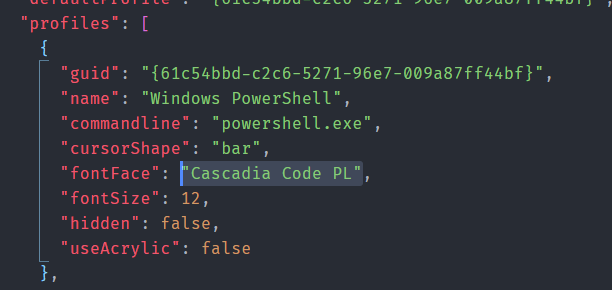
To update the terminal to use a custom font, you will need the font name. This is different from the file name.
- Open
C:\Windows\Fonts - Double click the name of your custom font
- Make note of the font name

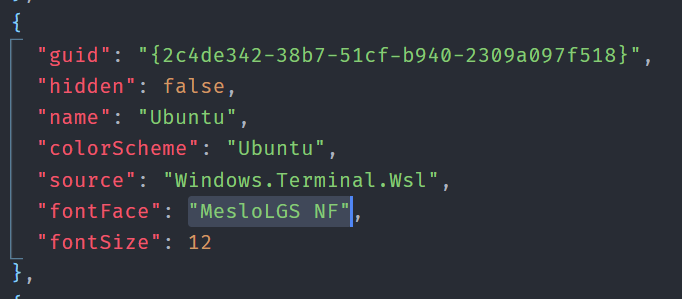
Lastly, update the fontFace property your Windows Terminal profile to use the newly installed font.
Much better!
Switch up your theme, and you’ve got a sexy looking dev terminal.
Un-installation
To remove oh-my-posh and go back to a default shell, remove or comment out the lines that were added to the Powershell profile.

Bash
We’ll need two things:
-
ZSH The Z shell is a Unix shell that can be used as an interactive login shell and as a command interpreter for shell scripting. Zsh is an extended Bourne shell with many improvements, including some features of Bash, ksh, and tcsh.
-
Oh-my-zsh Oh-My-Zsh is an open source, community-driven framework for managing your ZSH configuration. It comes bundled with several helpful functions, helpers, plugins and themes.
Installation
First, we’ll install an alternate shell called ZSH.
sudo apt install zsh
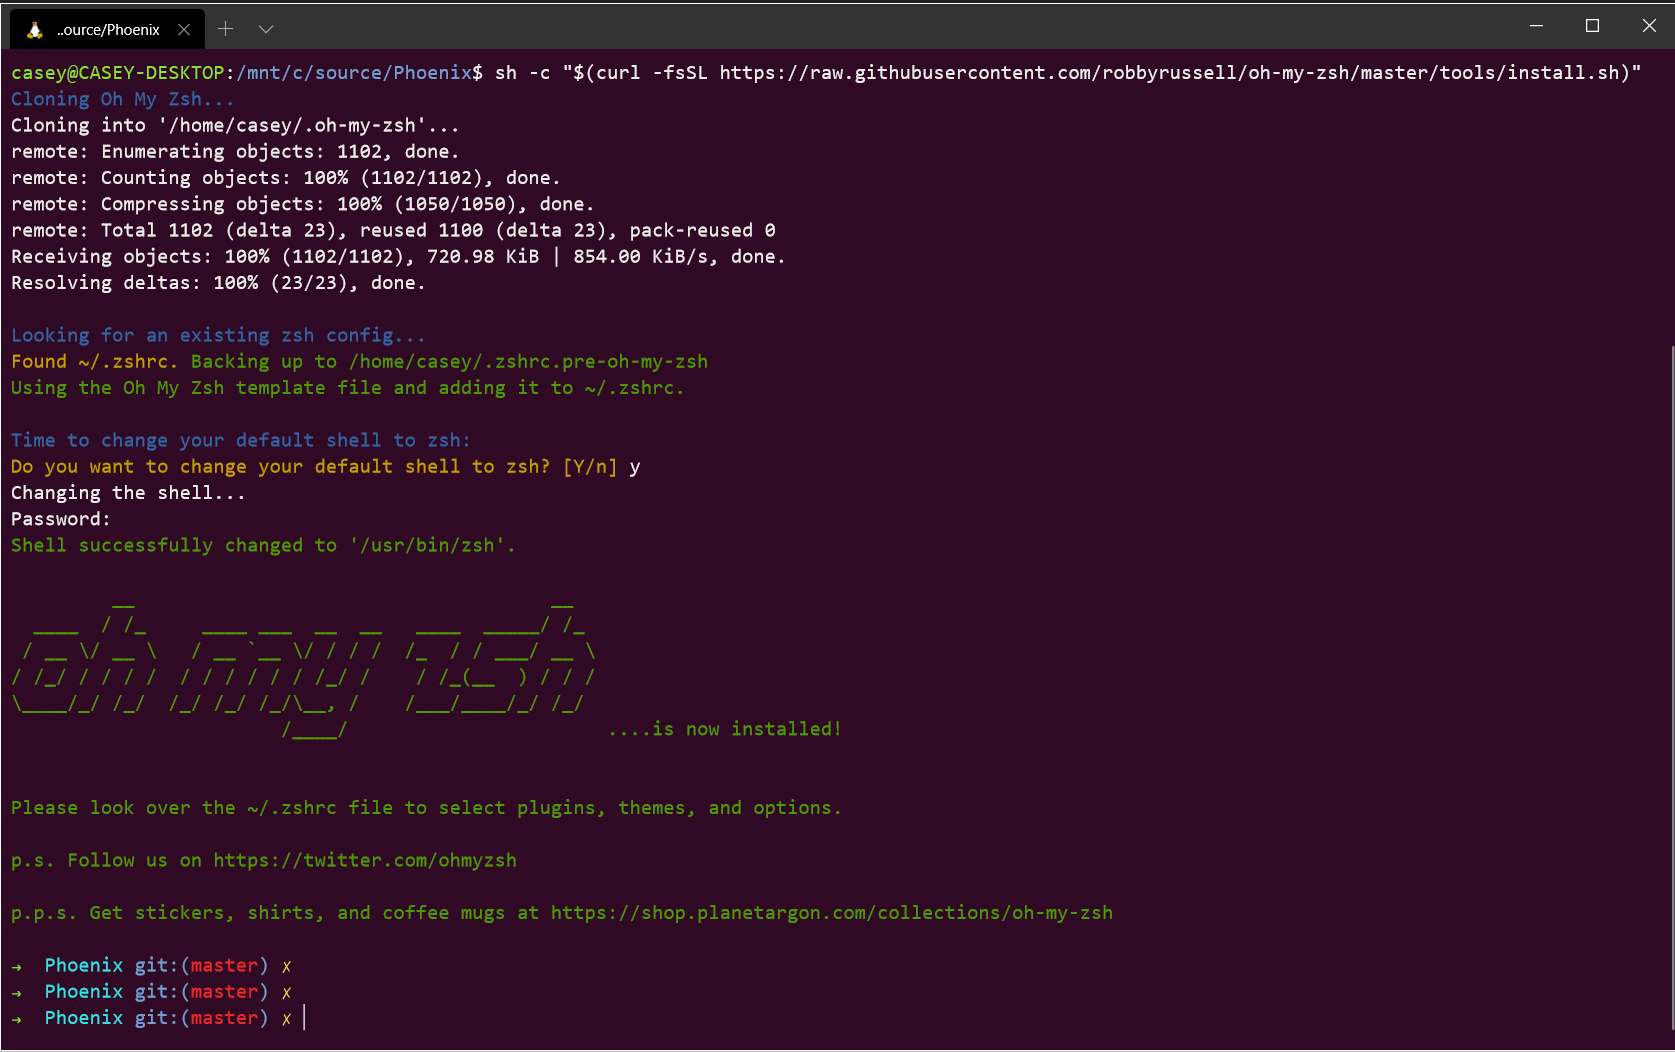
Then install the theming engine for ZSH called oh-my-zsh.
sh -c "$(curl -fsSL https://raw.githubusercontent.com/robbyrussell/oh-my-zsh/master/tools/install.sh)"
The install script will download and install oh-my-zsh and prompt you to change the default shell to zsh.
With zsh up and running and oh-my-zsh ready to go, the prompt can be now customized by downloading themes for oh-my-zsh.
I did a bit of extra googling and found a theme I really like called powerlevel10k.
To install a theme, clone the git repo into a new folder in the $ZSH_CUSTOM/themes/ directory
git clone https://github.com/romkatv/powerlevel10k.git $ZSH_CUSTOM/themes/powerlevel10k
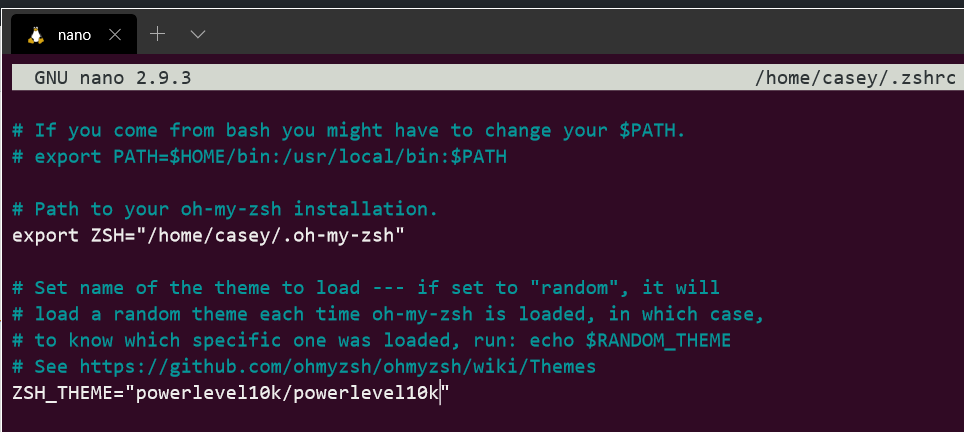
To set the theme, edit ~/.zshrc and set ZSH_THEME= to the location of the .zsh-theme file, referenced from the root of the /theme directory. For example, if the full path to the powerlevel theme is /home/casey/.oh-my-zsh/custom/themes/powerlevel10k/powerlevel10k.zsh-theme I would set the value to:
ZSH_THEME="powerlevel10k/powerlevel10k"
And finally, we need to install a font that includes all the git related glyphs. I’m using a font called MesloLGS NF which is the recommended font for the powerlevel10k theme.
Once downloaded and installed, edit your Windows Terminal profile and set the fontFace property to the name of the new font.
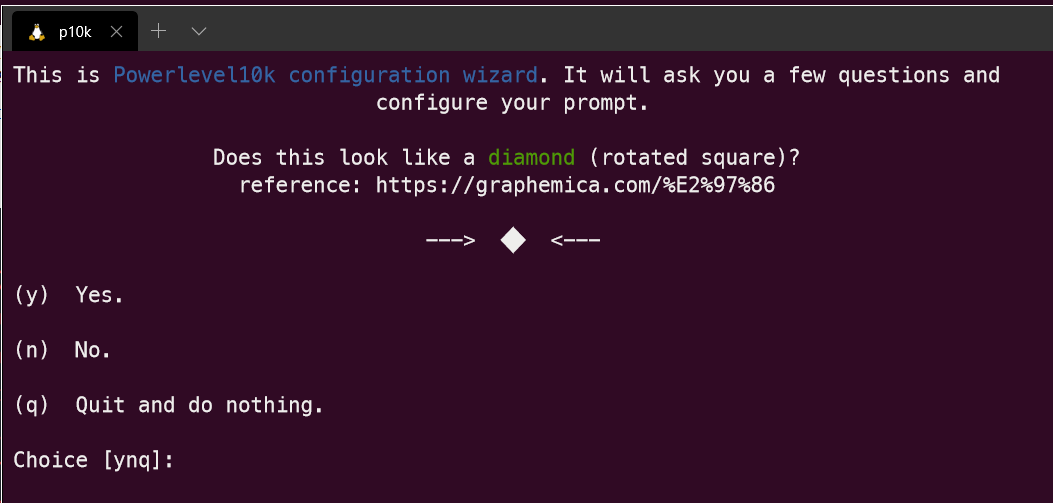
Restart your ubuntu shell. You’ll be greeted with a small configuration wizard for the powerlevel10k theme that will take you through all the customization options available to you. Just follow the prompts and configure the theme to your liking.
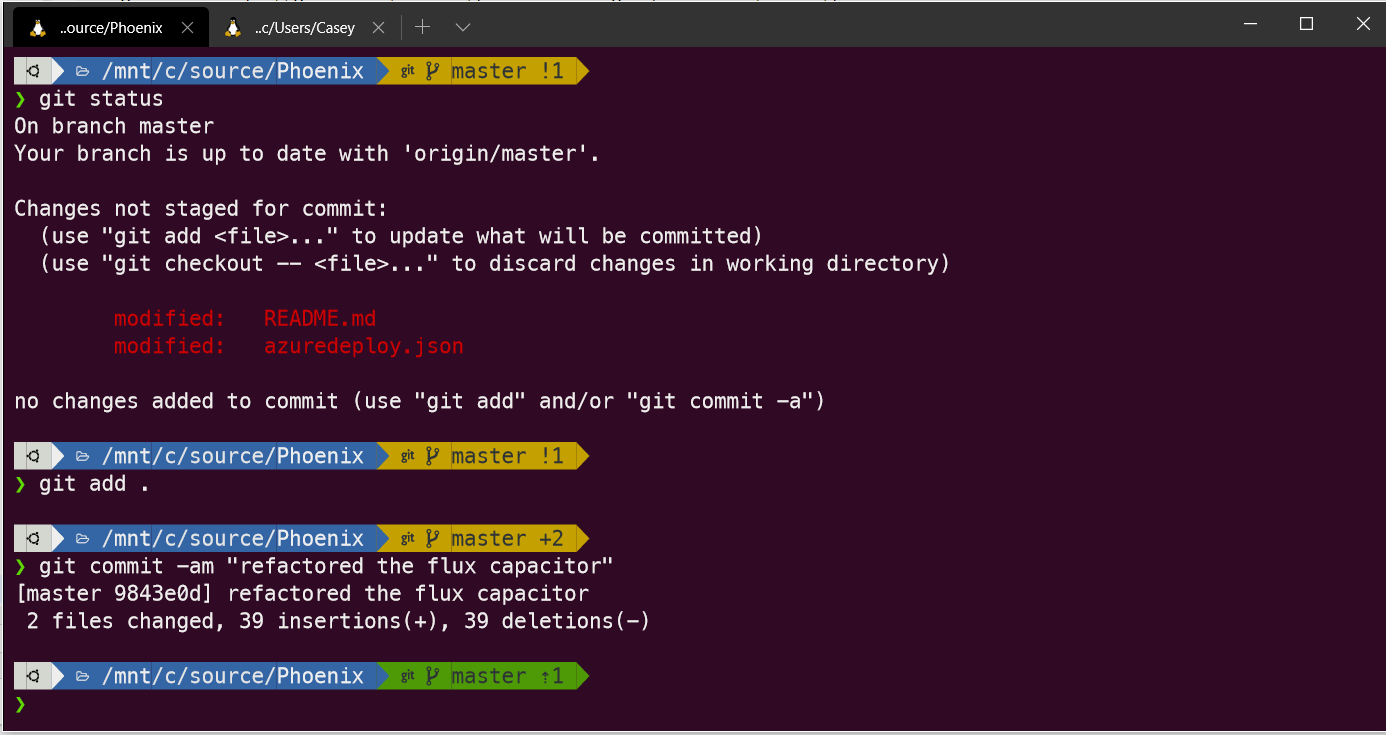
Here’s what I ended up with.
Un-installation
To revert back to a default shell, run the uninstall_oh_my_zsh command.

Comments