7 min to read
Customize the Windows Terminal like a boss
The Microsoft Windows Terminal was announced back in May 2019, and is the future home of the shell on Windows operating systems.
What’s the difference between a shell and a terminal
Scott Hanselman has a great detailed explanation of the differences, however, the TLDR is this:
A shell is the program that processes commands and returns output. For example, Windows command prompt, powershell, bash etc.
A terminal refers to a wrapper program that runs a shell.
The Windows Terminal (Codename: Cascadia) is an open source project that is still under development by Microsoft and will be shipped with a future version of Windows. But if you’re anything like me and simply can’t wait to get your hands on the new and shiny things, there’s a way to do that, too.
How to install the Windows Terminal
One way to get the terminal is to download it from github and compile it yourself. I’ve done this before, and I can tell you from experience that it’s a total pain in the ass.
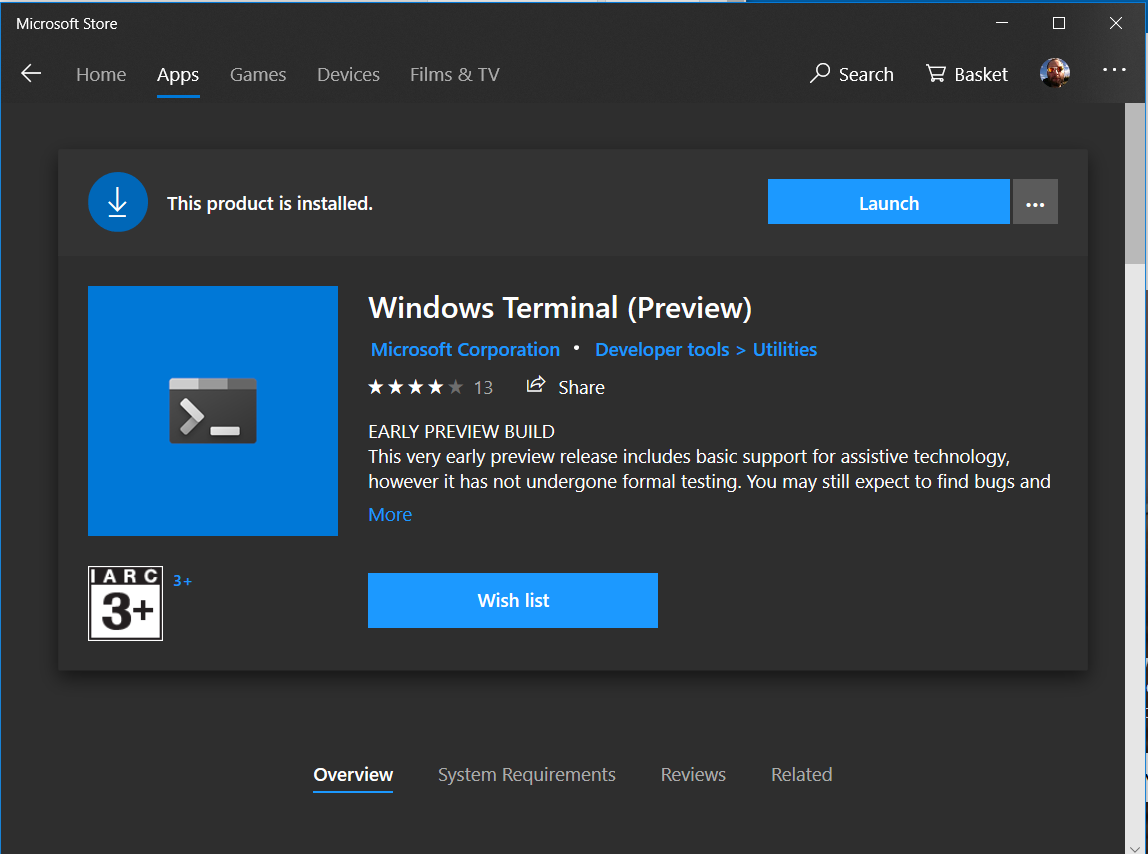
The simplest (and my preferred) method, is to get yourself onto a Windows Insider build of Windows 10 by joining the Windows Insider program, and download the Windows Terminal application from the Microsoft Store.
Customizing the terminal
Settings.json
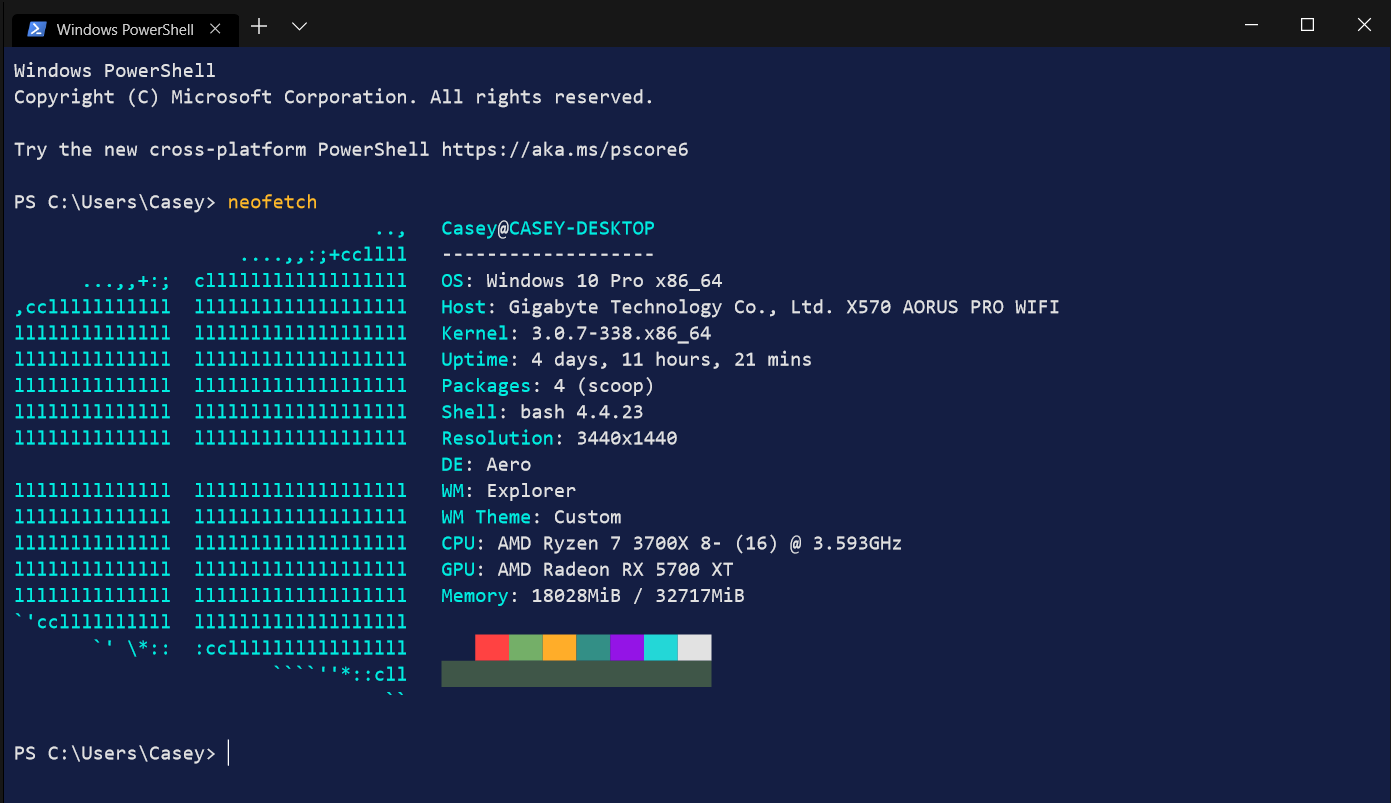
All of the configuration settings for the terminal are stored in a json document located at C:\Users\<USERNAME>\AppData\Local\Packages\Microsoft.WindowsTerminal_8wekyb3d8bbwe\LocalState\profiles.json
This can easily be edited by selecting Settings from the dropdown or CTRL + ,.

Profiles
The configuration of each shell that is available in the Windows Terminal app is defined by a profile within settings.json.
A default shell profile looks like this:
{
  // Make changes here to the powershell.exe profile
  "guid": "{61c54bbd-c2c6-5271-96e7-009a87ff44bf}",
  "name": "Windows PowerShell",
  "commandline": "powershell.exe",
  "hidden": false
}
guid: Unique identifier of the profile. Written in registry format: "{00000000-0000-0000-0000-000000000000}".
name: Name of the profile. Displays in the dropdown menu.
commandline: Executable used in the profile.
hidden: If set to true, the profile will not appear in the list of profiles.
Create a new profile
Let’s get our hands dirty and create a new profile.
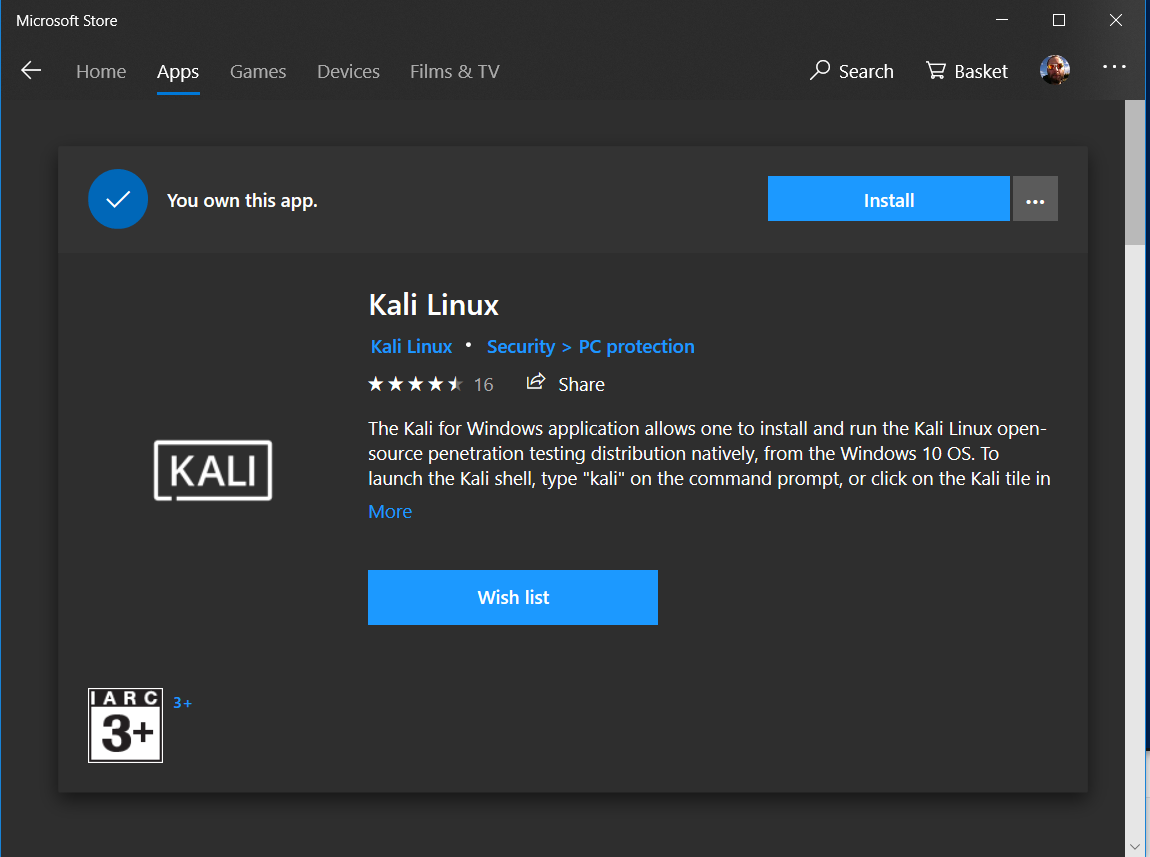
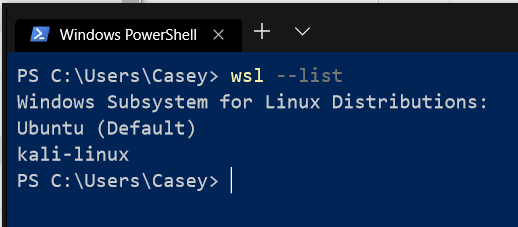
The first thing I’m going to do is to download a new shell from the Windows Store so I can show the process end-to-end. In this example, I’m going to choose Kali Linux, because I’m a bad-ass.
One that’s installed, I can open the shell by selecting it from my start menu.
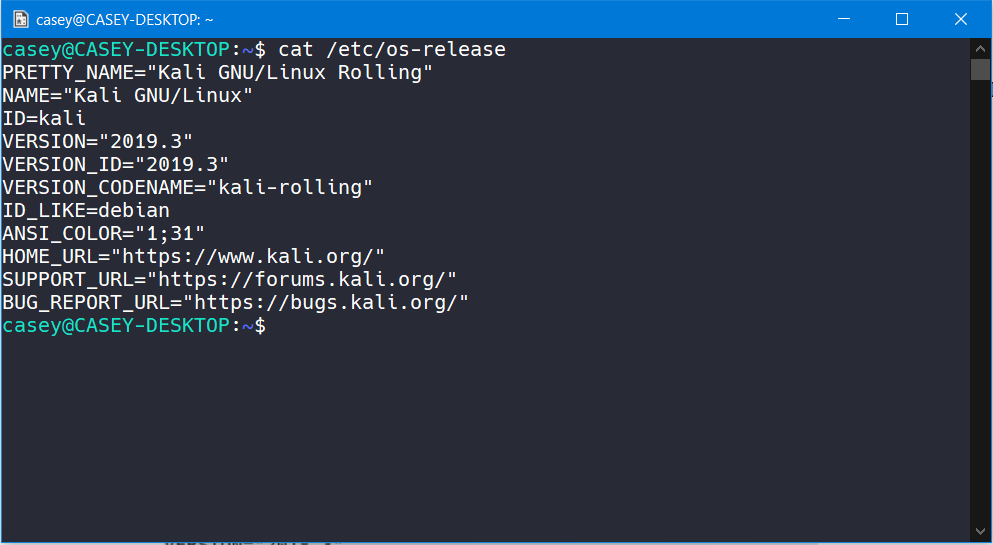
When I do, the Kali shell will open in a separate window just like all the other shells normally would. B-O-R-I-N-G! Let’s get this bad boy in the Windows Terminal!
- Open the settings and create a new profile.
- Generate a new guid by using the
New-Guidpowershell command.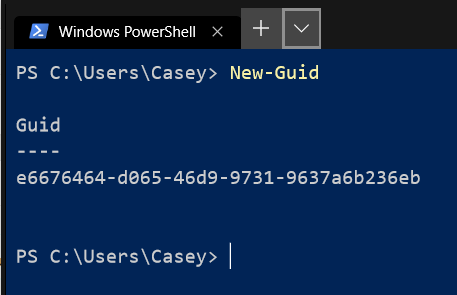
- Set the name to
Kali Linux - Set the source to
wsl --distribution kali-linux
The new profile looks like this:
{
  "guid": "{e6676464-d065-46d9-9731-9637a6b236eb}",
  "hidden": false,
  "name": "Kali Linux",
  "source": "wsl --distribution kali-linux"
}
Once the profile is saved it’s instantly available within Windows Terminal (no need for a reload!)

Schemes
The Schemes section is where we can add ✨bling✨ to the terminal.
A scheme consists of a bunch of key-value pairs that set colour properties for the terminal to their hex represented colour values.
There is a massive library of predefined themes available from https://iterm2colorschemes.com/. Find a theme you like, and grab the JSON representation of the theme from this GitHub repo.
If you want to rock your WSL in true Ubuntu style, first import the Ubuntu colour scheme.
Next, download and install the official Ubuntu fonts.
And lastly, modify the Ubuntu profile to use the new font and colour scheme.
{
    "guid": "{2c4de342-38b7-51cf-b940-2309a097f518}",
    "hidden": false,
    "name": "Ubuntu",
    "colorScheme": "Ubuntu",
    "source": "Windows.Terminal.Wsl",
    "fontFace": "Ubuntu Regular"
},
I’ve put my custom KaliLegit scheme on my GitHub in case you wanted that one too.
For Powershell, I went with a theme called Pandora.
Custom backgrounds
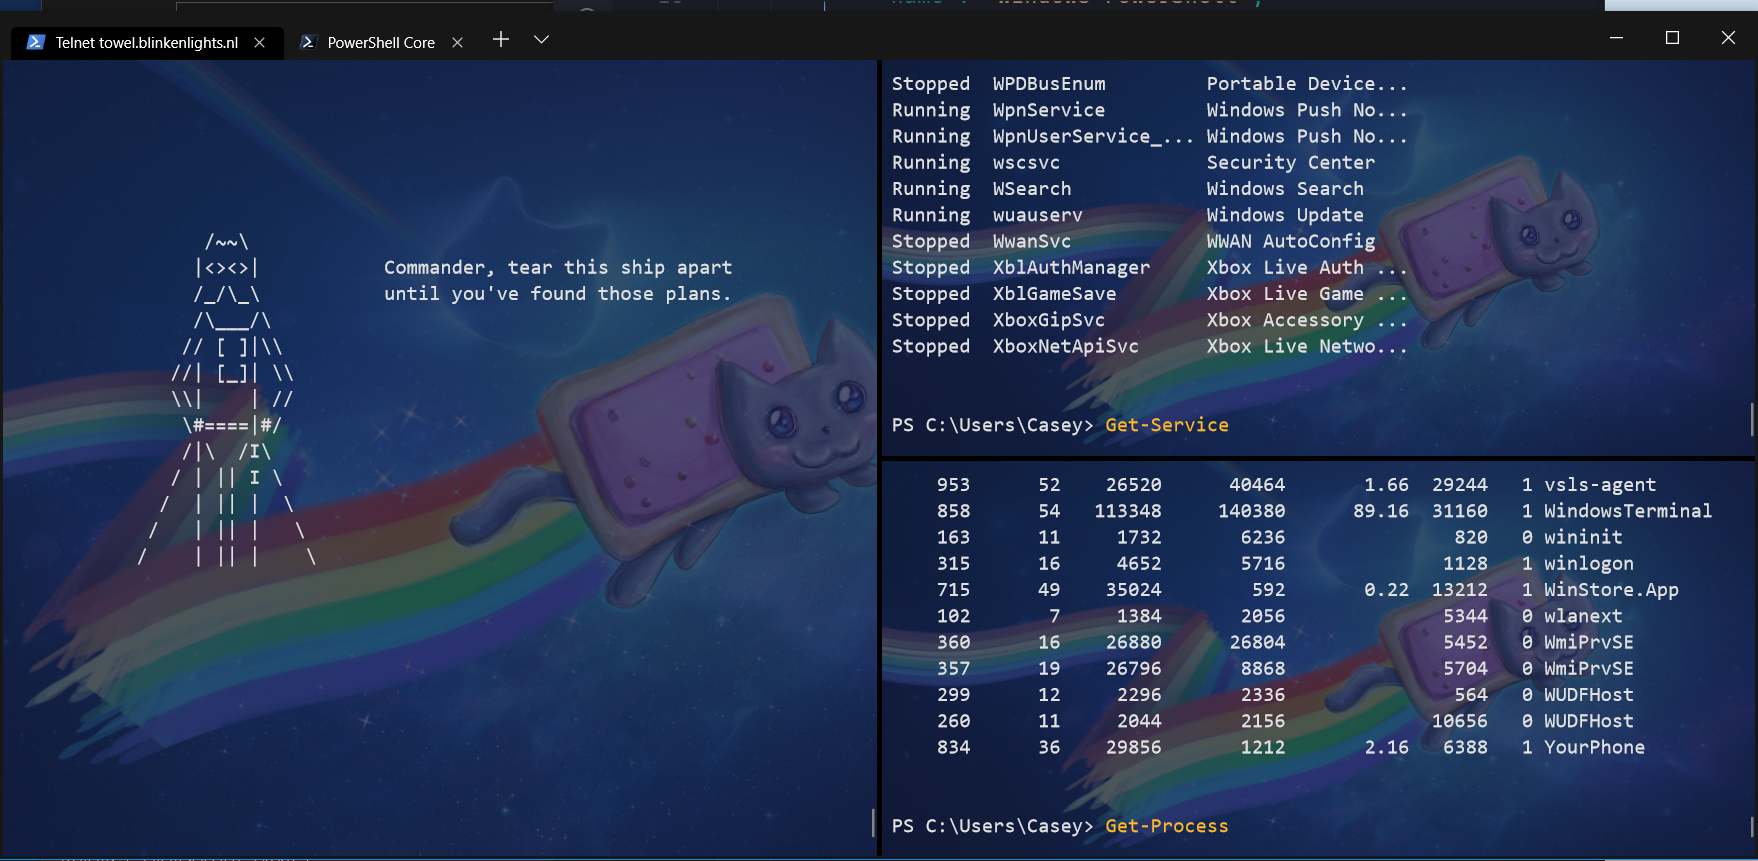
The Windows Terminal supports custom background images. I find this useful to make different versions of a shell (for example, Powershell 5 and Powershell 7 core) visually distinct, so I never get confused as to which shell i’m in.
- Grab an image, and place it inside the same directory as your
profiles.json. (You can put the file anywhere, the above directory just happens to be convenient) - Open the Windows Terminal settings (
CTRL + ,) - Under your shell profile, add the following configuraition items, swapping out the location of your image.
"backgroundImage": "ms-appdata:///Local/powershell-core.jpg",
"backgroundImageOpacity": 0.25,
"backgroundImageAlignment": "center",
"backgroundImageStretchMode": "uniformToFill",
"useAcrylic": false
- Save the file and verify the changes
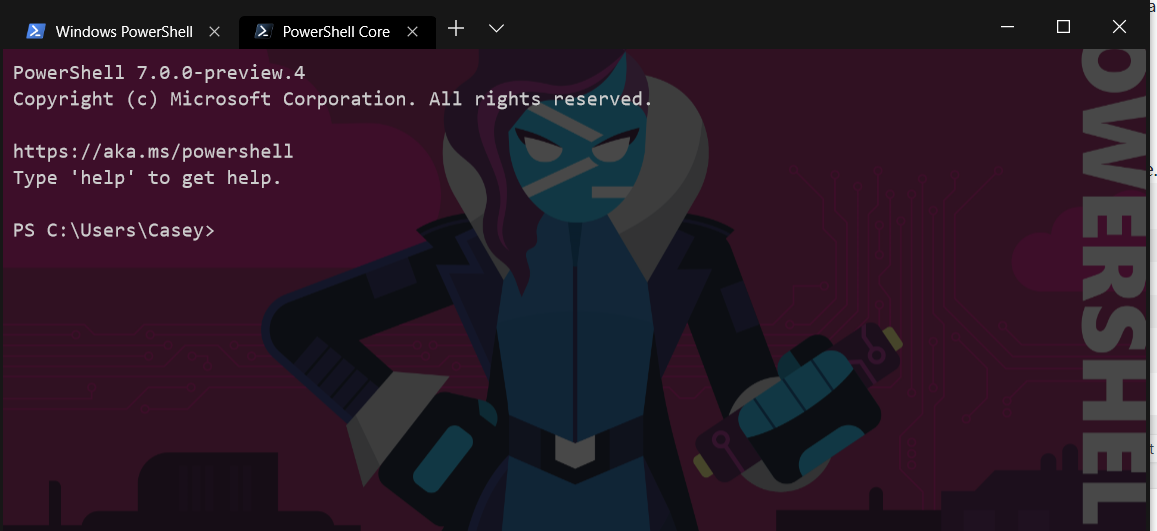
You may need to have a fiddle with your color scheme or image opacity to make the text visible on top of your image.
Instead of using the UWP URI for the image location, you can use a:
- URL such as
https://download.microsoft.com/download/9/6/8/968D32C0-EBAC-472C-9CAB-7758366B3AA1/PowerShell_Hero_Wallpaper_4k_1.jpg - Local file location such as
C:\\Users\\Casey\\Pictures\\mywallpaper.jpg
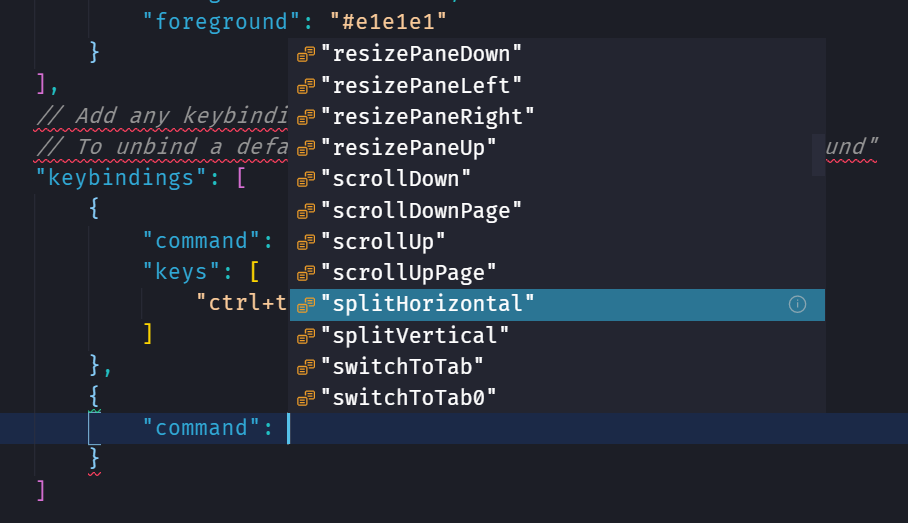
Key bindings
The keybindings section does exactly what it says on the tin. It lets you define custom keybindings for commands that are available in the Windows Terminal.
A keybinding is set like this:
    "keybindings": [
        {
            "command": "newTab",
            "keys": [
                "ctrl+t"
            ]
        }
    ]
When using VSCode the settings schema will provide auto-fill suggestions when editing your profiles.json file and it will also provide definitions of each property.

Comments