10 min to read
Using VSCode for ARM template development

In a world where everything apparently needs to be a web app, the internet has plenty of articles, guides, and tutorials on setting up VSCode with all those hipster javascript languages like Node, Vue and React; however, nearly everything I read on authoring and deploying ARM templates uses Microsoft Visual Studio. Why is that?
What’s wrong with Microsoft Visual Studio
While Visual Studio will get the job done, keep in mind that Visual Studio is primarily a tool for application development. With that comes a bunch of bloat that we don’t need and will never use when creating ARM templates such as:
The bad things
File bloat
In order to use Visual Studio as an IDE for creating and deploying ARM templates, you must first create a new solution (.sln), and inside that a new project (.deployproj). This process creates a bunch of extra files that are only needed by Visual Studio, and are unrelated to the actual deployments.
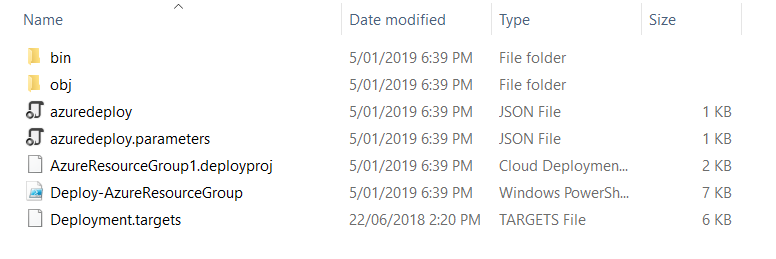
At its core, an ARM deployment needs two files: a deploy.json and a parameters.json. Everything else that Visual Studio creates only adds confusion to your deployments, especially when sharing with others that do not use Visual Studio.
Added complexity
When you use the IDE to deploy a template, it will execute a full build process that creates more artifacts on disk in the /bin/debug directory. It will then execute a PowerShell script that will upload these artifacts to a storage account and deploys them using a linked template deployment. Although it’s great that the IDE abstracts this process from you, it does add an unnecessary layer of complexity to the deployment that makes it harder to troubleshoot when things go wrong.
I believe that it is incredibly important to understand exactly what is happening under the hood, and not rely on the GUI to do all the work for you. In those times when your deployments start to fail (and they will fail), knowing what is happening at each step will prevent you from being stuck up the Ganges without a bamboo oar.
The good things
Microsoft Visual Studio isn’t all bad. It does have a few cool features such as:
- JSON Outline View
- One-Click deployment
- Source control integration
If we’re looking to move away from Visual Studio in order to eliminate the things that we don’t like, it’s important that whatever alternative we chose has feature parity with the features that we do like.
Enter VSCode
According to the Stack Overflow 2018 Developer SurveyVisual Studio Code is the number one IDE of choice for developers across all languages, and it’s my personal favorite too.
Visual Studio Code is a source code editor developed by Microsoft for Windows, Linux and macOS. What I like most about VSCode is that it’s lightweight, cross-platform, highly extensible and easy to customize. Because it is open source, there’s a massive community around creating extensions to improve the functionality, and therefore the value, that we can leverage from using this tool.
Customizing VSCode
Before doing any kind of programming or coding, it is important to take the time to customize your development environment and tooling. The tools you use are the bridge between what’s in your head and the manifestation of your awesomeness. Setting up your environment just the way you like it is going to greatly aid in your success.
“Give me six hours to chop down a tree and I will spend the first four sharpening the axe.” - Abraham Lincoln
When using VSCode to create and deploy Azure Resource Manager templates, a few simple extensions, scripts, and keyboard shortcuts can rapidly speed up your development time.
Snippets
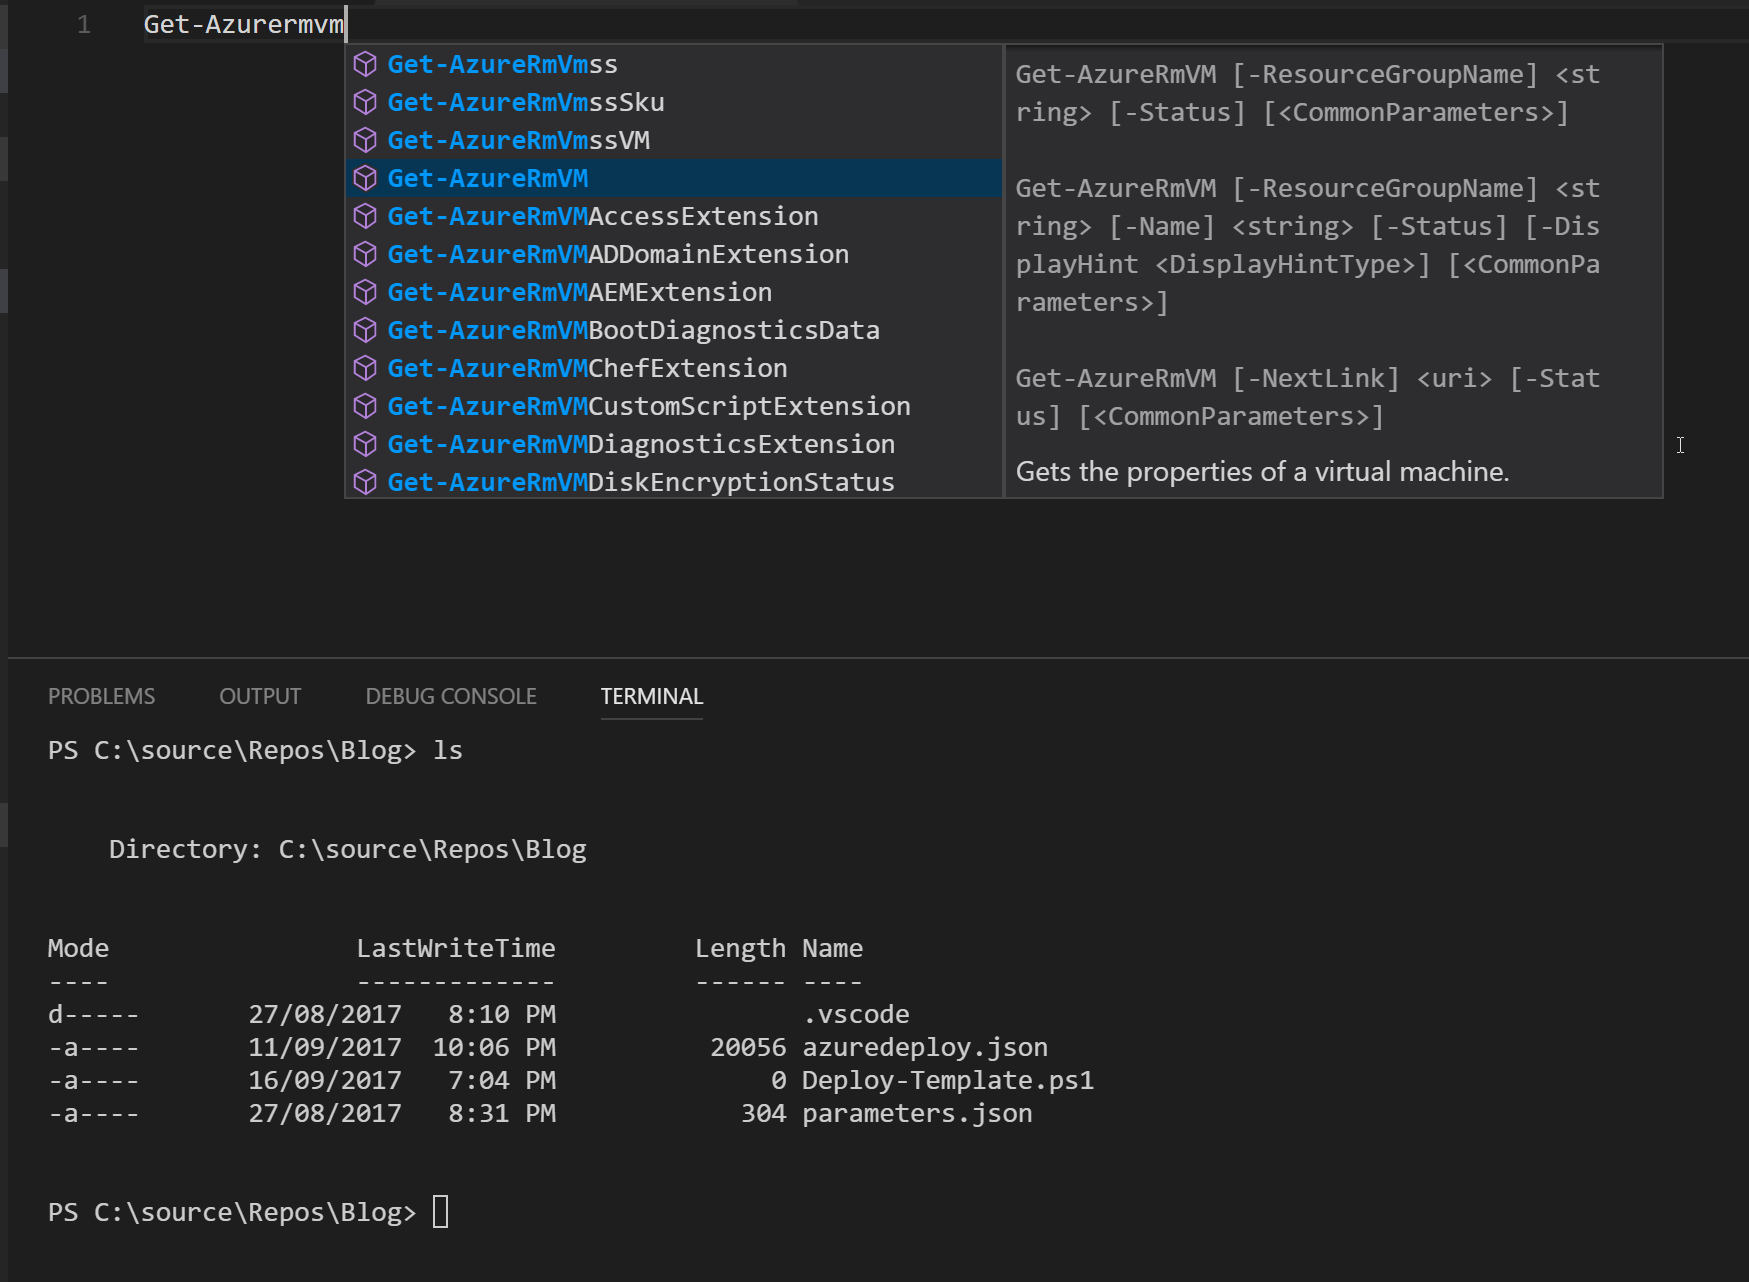
Snippets in VSCode allow you create your own code templates that you can enact via intellisense. The Microsoft Azure Cross-Platform Tooling includes a whole bunch of these code snippets for quickly generating ARM templates.

To install these snippets:
- Browse to the
armsnippets.jsonon Github - Click Raw to view the raw text
- Copy the file contents to your clipboard
- In VSCode, click File –> Preferences –> User Snippets
- Select the JSON snippets file
- At the bottom of the snippets file, just before the last curly brace, paste the contents of
armsnippets.json - Save the file
With the code now added to your snippets file, they can be invoked by typing arm anywhere inside a JSON document.
Extensions
Extensions in VSCode let you add languages, debuggers, and tools to your installation to support your development workflow.
You can install an extension by clicking the Extensions icon on the navigation bar (or CTRL + SHIFT + X) and typing the name of the extension in the search box.
Azure Resource Manager Tools
The Azure Resource Manager Tools extension runs behind the scenes by adding intellisense for ARM templates, code peek for parameter and variable definitions.
Download Azure Resource Manager Tools Extension
Powershell
The Powershell extension adds rich PowerShell language support for Visual Studio Code. It also adds support for intellisense, code snippets and the VSCode debugger. I find this extension invaluable for creating and deploying ARM deployment Powershell scripts and Pester tests.
GitLens
Download
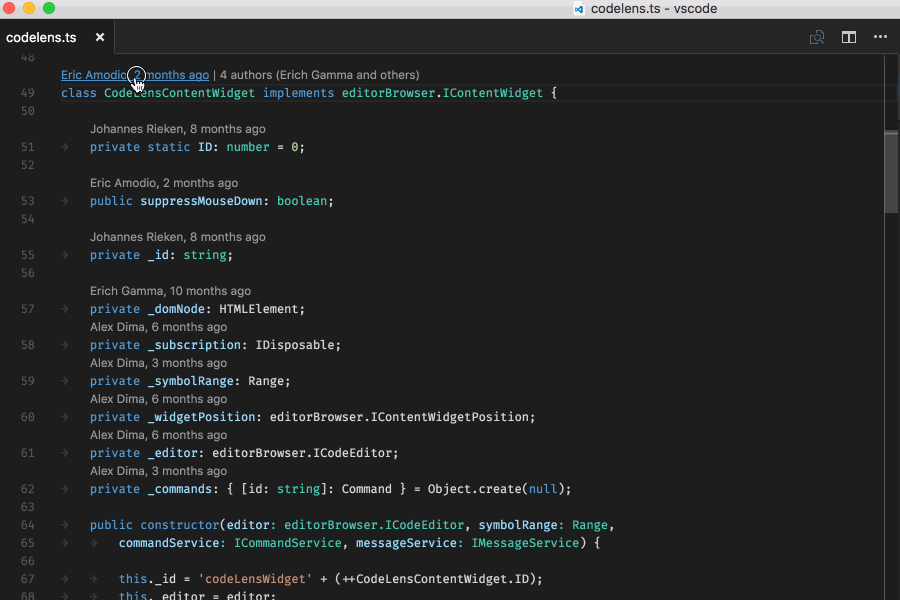
GitLens supercharges the Git capabilities built into Visual Studio Code. It helps you to visualize code authorship at a glance via Git blame annotations and code lens, seamlessly navigate and explore Git repositories, gain valuable insights via powerful comparison commands, and so much more.
This feature-rich extension will meet all your Git needs. It uses the CodeLens UI to show you the most recent commit, the number of authors, inline blame annotations, and exposes the Peek window for a full history view. See the extension’s README for the full list of features. With 14 five stars, this is a highly rated, excellent extension.
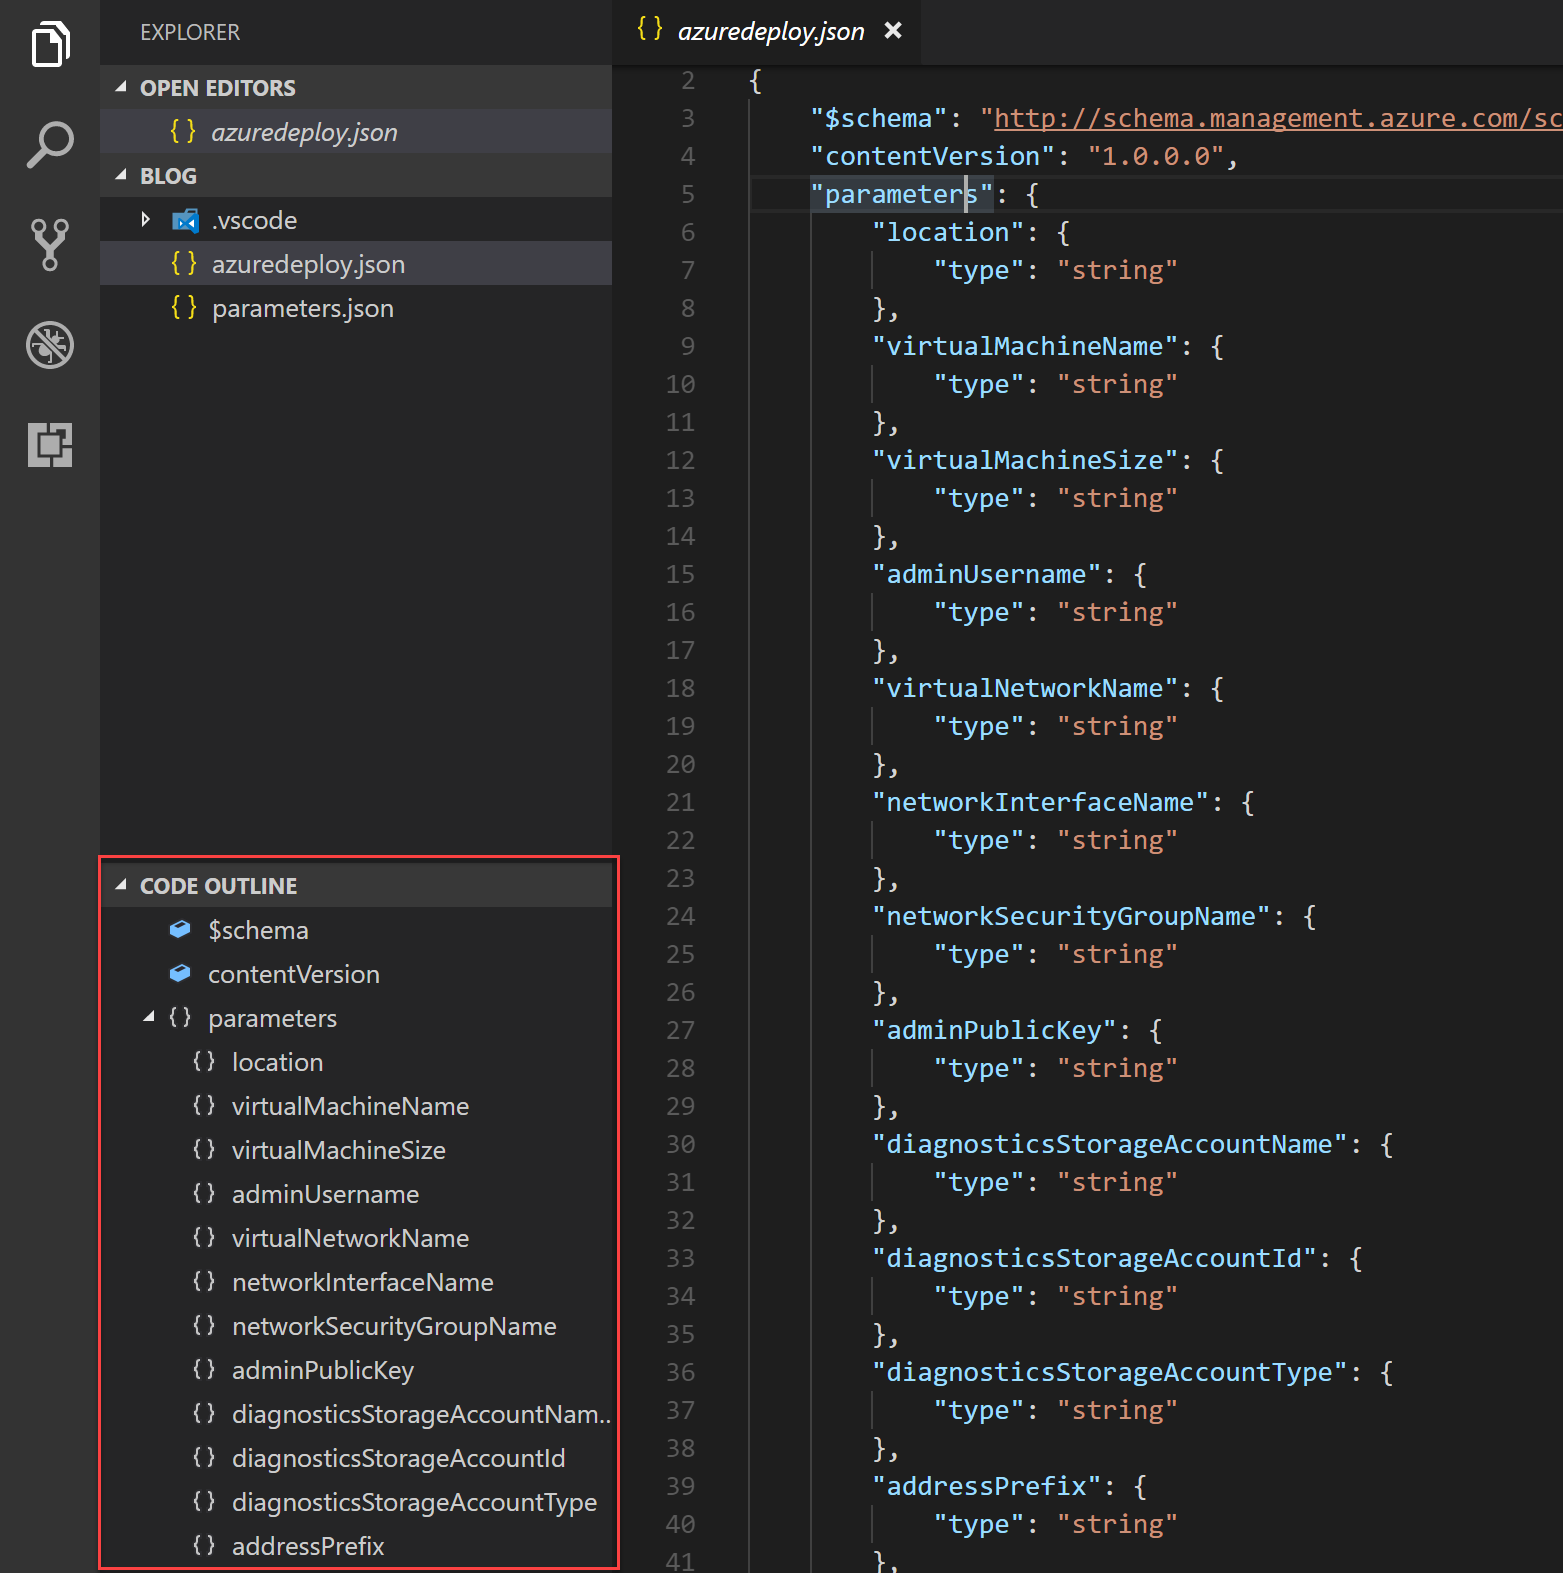
Code Outline
Code Outline is an optional extension that some people may choose to use if they previously made use of the JSON Outline view in Visual Studio. I don’t use this extension myself, however, with it installed we now have a complete replacement for Visual Studio as our ARM development IDE.
Make it pretty
Ask any UI developer and they’ll tell you that there is a science behind the aesthetics of an interface. Everything from the size and shape of icons, to the colours used in the palate, all the way down to the typography, can have an effect on the mood (for better or for worse) of the end user.
Like I said earlier, you’re going to be spending a lot of time inside VSCode, so it’s worthwhile taking the time to set it up in a way that is pleasing to you visually. Here are my tips for giving VSCode a fresh coat of paint.
Pick a theme
Using the keyboard shortcut CTRL + K, CTRL + T will bring up the theme picker. From here you can choose from an assortment of themes that give VSCode a fresh coat of paint. VSCode comes with a nice selection of themes out of the box, but there are more available on the extension marketplace.
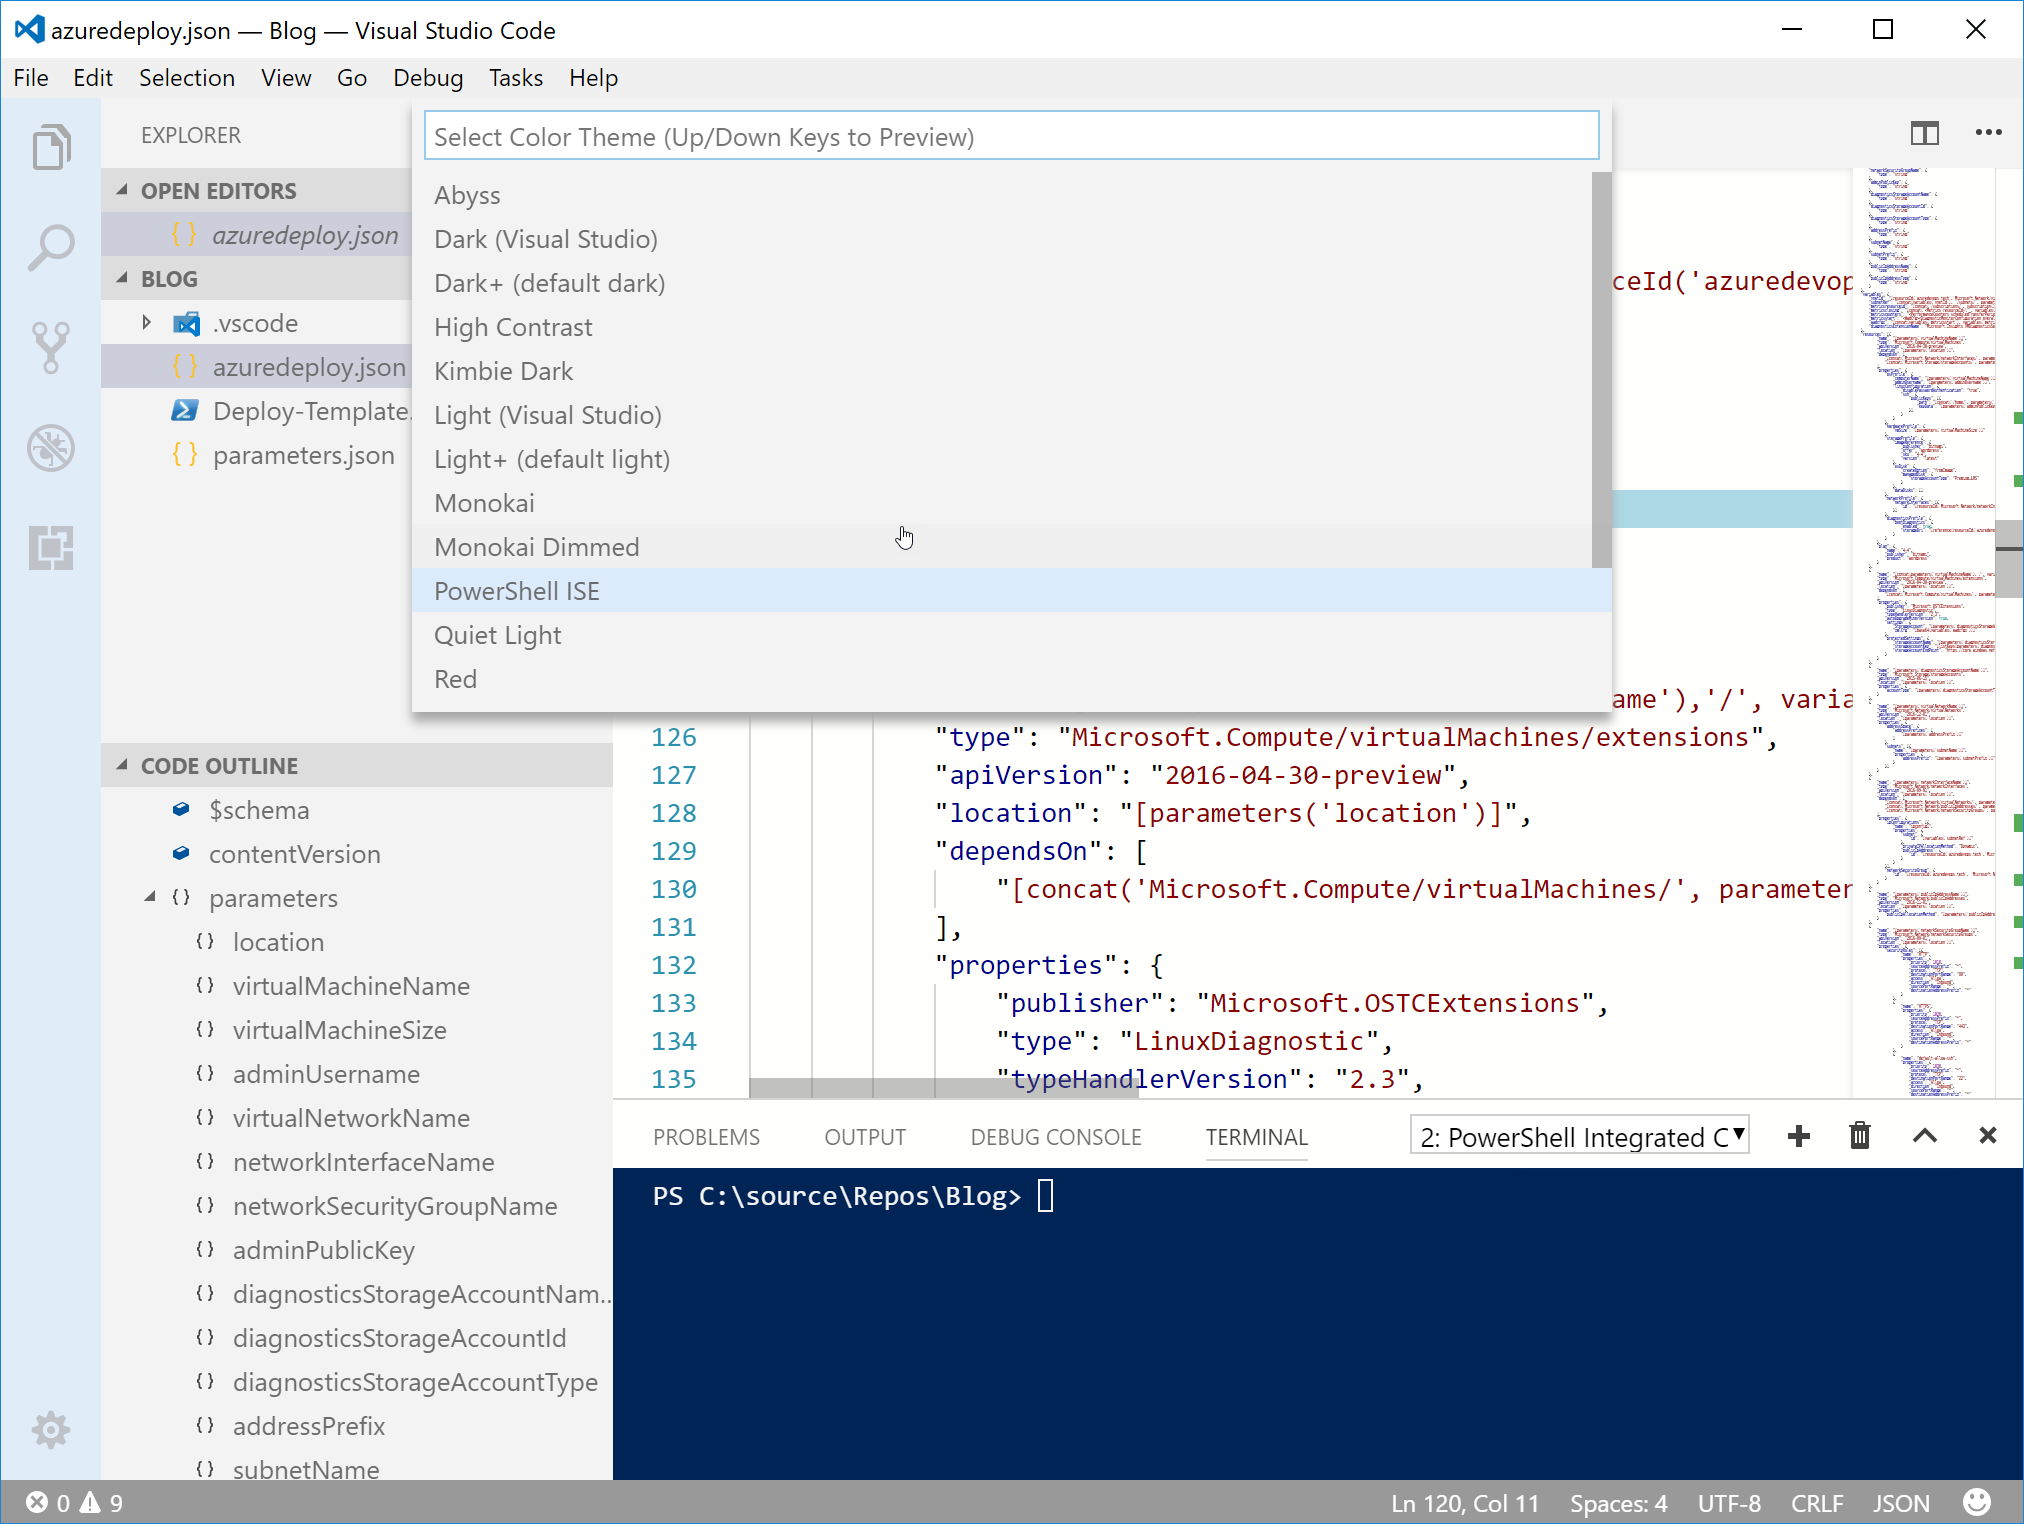
Maybe the Powershell ISE is more your style?
Themes are organized into two sections; Dark themes and Light themes. If you ask me, when it comes to customizing your IDE, developers usually fall into one of two categories. Those who like dark themes, and those who are wrong.
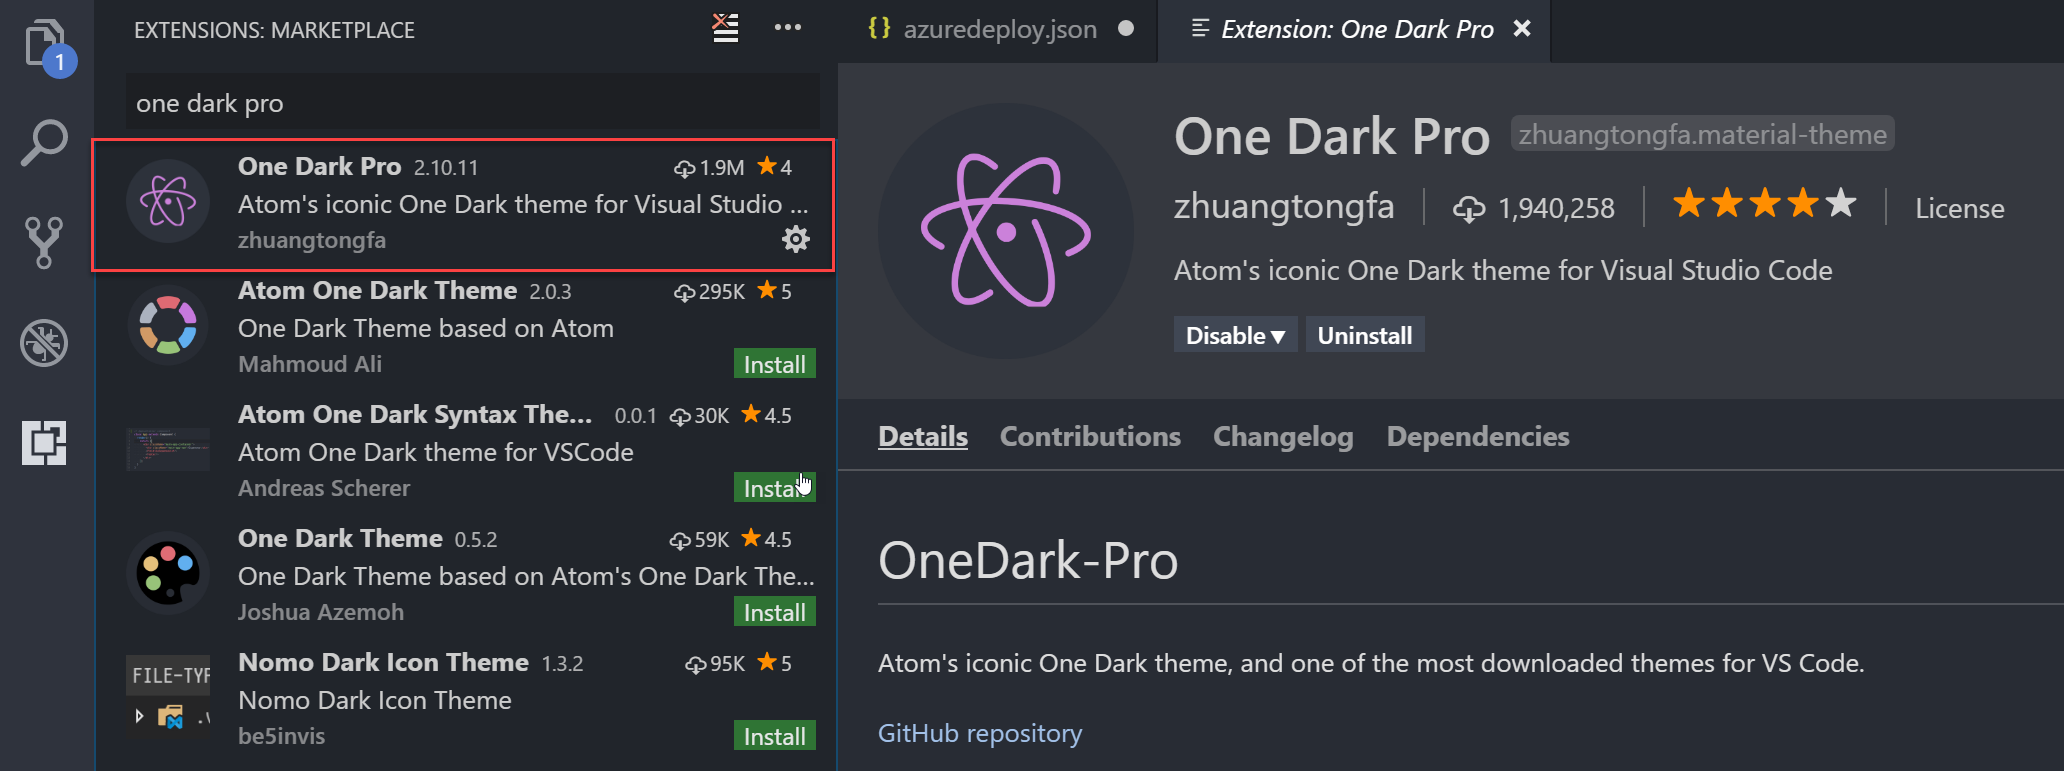
Personally, I’m a fan of the One Dark Pro theme, so I’m going to go with that one.
Pick some icons
Next, install an icon pack from the extension gallery the same way you do with extensions and themes. I like the Material Icon Theme, so that’s going to be my choice.
![]()
Change the font
The default font will do just fine for staring at for hours on end, but the best part about VSCode’s extensibility is that everything can be customized - including the font.
Open the user settings with CTRL + , and search for font to see all the font settings.
To change your font, simply change the font family to any font installed on your system, as demonstrated below.

The best thing is that you're not limited to standard Windows fonts. I came across a font called Fira Code that I really like, so I downloaded it, installed it into my Windows font directory, and simply updated my settings to use it.
Dial it in
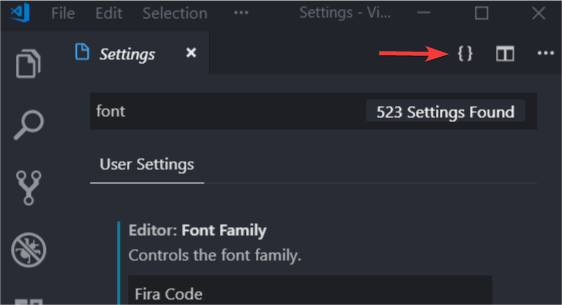
Earlier in this article, I wrote about how important it is to know what’s going on under the hood. When it comes to configuration settings in VSCode, everything changed in the GUI is saved to a file called settings.json. You can view and edit this file by clicking the {} icon in the top right of the settings pane.
Because I’m a bad-ass, I edited the settings.json file and added a few extra tweaks and quality of life change that suit my personal preferences. You can ignore this step if you like.
{
  // Theme and display settings
  "workbench.colorTheme": "One Dark Pro",
  "editor.fontFamily": "Fira Code",
  "editor.fontSize": 14,
  "editor.fontLigatures": true,
  "window.zoomLevel": 0,

  // VSCode settings
  "editor.formatOnSave": false,
  "editor.tabCompletion": true,

  // Git settings
  "git.confirmSync": false,
  "git.enableSmartCommit": true,

  // Console settings
  "powershell.integratedConsole.focusConsoleOnExecute": false,
  "powershell.developer.editorServicesLogLevel": "Verbose",
  "terminal.integrated.shell.windows": "C:\WINDOWS\Sysnative\WindowsPowerShell\v1.0\powershell.exe"
}
Conclusion
VSCode is a fantastic lightweight editor for just about any mainstream language, where it’s real power comes from being able to customize it with an incredible degree of granularity.
In this post, I’ve shown you how to take a fresh install of a simple editor, and transform it into a fully functional replacement to Visual Studio in the context of authoring ARM templates - and we’re just scratching the surface of what VSCode can do!
Learn More
I suggest taking the time to learn more about customizing VSCode. There are some great tips and tricks on the VSCode github page. Also, keep a print out of the keyboard shortcuts somewhere close by. If you start to follow my blog, you’re gonna need em’!

Comments